
I must be honest with you all. My sweet husband has turned me into a crazy person. Sometimes we hit points in our renovations where I feel like I can’t help. Whether it is a project I don’t feel comfortable doing or one that Josh has a specific vision/plan for, sometimes I find myself doing the other things that need to be done around the house like laundry, dishes, etc. This is all fine and dandy except when I get bored doing those things. That is when I start to get boo-hooey/lazy/bratty and make Josh take a brainstorming trip to Lowe’s/Home Depot with me.
When we take a brainstorming trip, I create new projects for myself to do while Josh works on “his” projects. This is how our bathroom renovation started. I mentioned wanting to look at paint colors for the bathroom cabinets and walls. It then turned in to us looking at light fixtures, countertops, and sinks. We got paint swatches and left, but after brainstorming store trips, I always come back in to the house renewed and ready to work. Measurements were taken, colors were decided, and we got to work.
Here are some before pictures for you to feast your eyes on!


For the walls, we chose Behr Ultra Premium Plus in Snowy Pine:

and for the cabinets, we chose Behr Marquee Silent Film:

All of the trim is painted with the same Behr Premium Plus Ultra in Ultra Pure White that we’ve been using through the rest of the house.
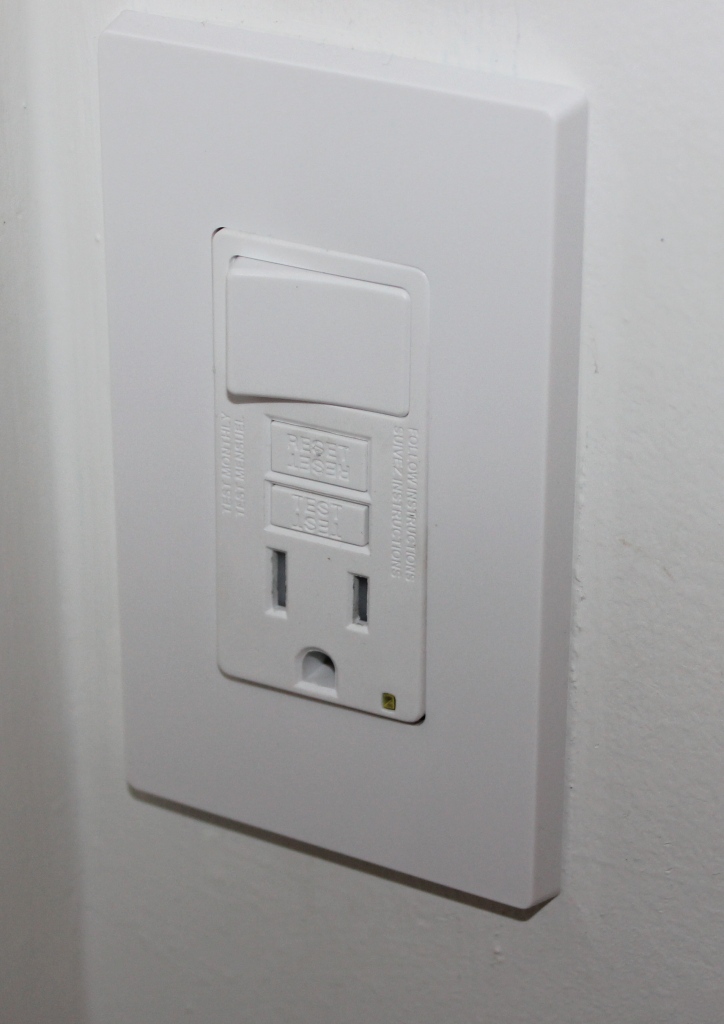
First, we took down the upper cabinets and lights to open up the space a bit. Doing this also removed the two outlets that were housed on the bottom of the cabinets. The power was run from the light box down the inside of the cabinets. They were a bit awkward from the beginning, but we didn’t want to completely lose outlets in the room. After a bit of research, we installed a new fan switch that also had an outlet below, so that I am still able to use a blow dryer/straightener in the bathroom. This made it so that we wouldn’t have to completely run new power. Shortcuts that work for the win!


We ordered a gorgeous sink from Wayfair
and bought a countertop from Lowe’s that we will be cutting down to size (cross your fingers we don’t mess it up! We definitely have a chance of messing up the backsplash since all of the modern countertops are too deep for our bathroom. We will be cutting the back end off and trying to reuse the backsplash. If we mess it up, we will likely do a tile backsplash, but..just cross your fingers we don’t mess up the countertop. 🙂


Love the cabinet color and the sink; can’t wait to see the rest! Those countertops are usually pretty easy to cut. We haven’t tried taking the backsplash off of one but hopefully it’s not too difficult.
We seem to be avoiding the countertop as much as possible..hoping we get to work on it this weekend but we will see! Luckily if we do mess it up it isn’t going to break the bank too much since it is laminate. 🙂 did you use any helpful tutorials when you cut yours? We found a YouTube video using tape on the top and cutting from the bottom side to reduce the chance of splintering?
Kyle took care of the counter completely but I asked him last night and he said that he used tape on the top and cut ours from the top instead of the bottom. He said that some of the laminate did chip a little but mostly it cut like butter. I could see how cutting from the bottom might prevent some of that chipping!
We are gutting our bathroom this weekend too! I’m most worried about the wiring situation since the house was built in 1952 and the previous owner cheapie-reno’d it sometime in the 80’s (we think). I’d love to see a post on how you prime/paint your pine cabinets because that’s what we have in our kitchen and I’m nervous to touch them!
We did our kitchen cabinets last year and they look way better than these ones. We sanded them down to bare wood, primed with zinsser, then painted with oil based paint (four coats). It was a lengthy process but they are holding up great.
The bathroom cabinets I used deglosser instead of fully sanding and it doesn’t seem like it is holding up as well.
Thanks, Alison! That does sound like a long process, but definitely worth it. My husband had suggested sanding them down…maybe next winter haha!
oooh – love the sink – can’t wait to see that installed!
Hey! Thought about you the other day – in my ever changing project ADD I decided to re-do half of the guest bath while I was in the middle of working on the craft room and we ended up buying another of those counters (maybe even the same one in this post? Definitely similar.) We had to cut it down since it was too deep for our cabinets but the wall is going to be fully tiled so we didn’t have to worry about reattaching the backsplash – just wondering how it went for you guys!
We suck at life and haven’t done it yet. I blame netflix. Haha!!
Haha nice! I think we’re due for some netflix time soon.