You light up my life!

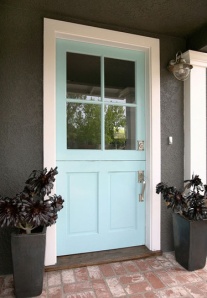
Look at this little cutie I found while browsing awhile ago!

Untitled2

I immediately emailed it to Josh with the Subject Line: Hallway Light? And got no response. I showed it to him again that night since I was thinking about it ALL DAY. He said he liked it. I said OK.

The next day, I bought it. Well, it came in and it is now calling “INSTALL ME!!” from upstairs, but we expect a lot of in/out hauling to be going on with the installation of the insulation and drywall, so she is just going to have to be patient. I would cry if it got hit/broken, but I won’t be upset if something happens to the fixture it will be replacing:

IMG_1289

Leave it to me to pop in to another space without finishing the others. 🙂


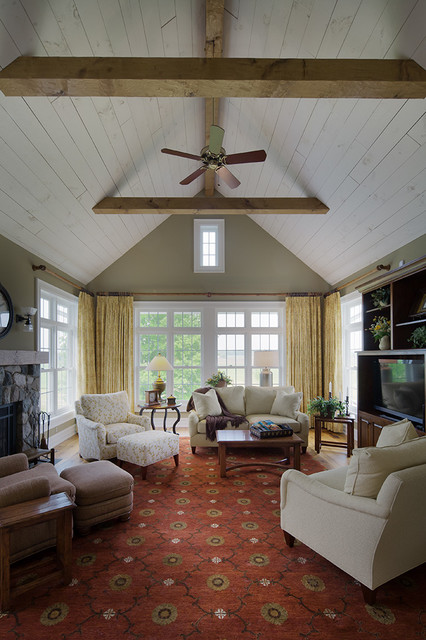
While we are on the lighting subject, my sweet sweet husband is in the process of re-wiring the living room and sunroom. These are his plans:

IMG_1305


The first thing is we will now have TWO fans with lights, connected to switches when you walk into the room from the kitchen. We are moving the main light switch from a really awkward wall to one that makes sense, so I am extremely excited about that. We are updating all of the wiring/outlets in the room and moving a few of their locations as well. I am SO excited that we are going to add an outlet higher on the wall near the fireplace in case we want to put a lamp, tv, or anything up on the mantle that needs power so that we won’t have cords hanging down the side. We are also contemplating adding some accent lights near the fireplace, but haven’t made a final decision on that yet.

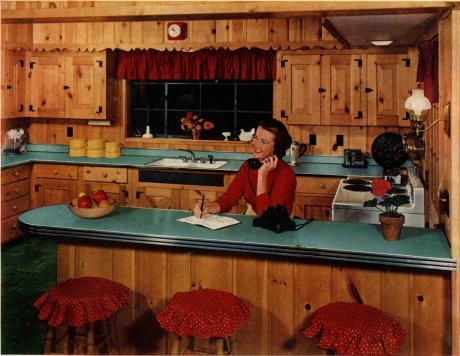
In the sunroom, we are adding two more ceiling light fixtures (there was only one that was in there when we moved in), although the ceiling in there is lower and we will have to be really good shoppers to find something that will work since we and our families are giants and we aren’t made of money.


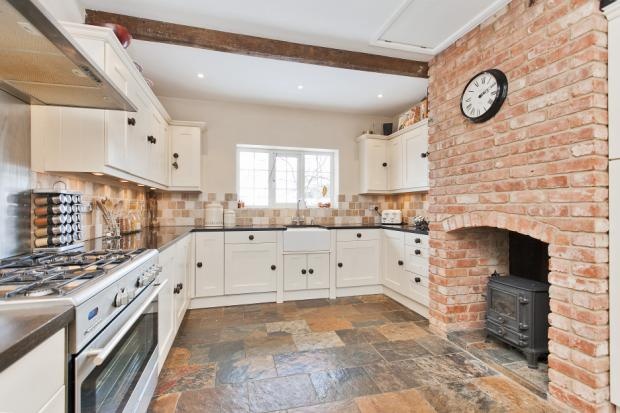
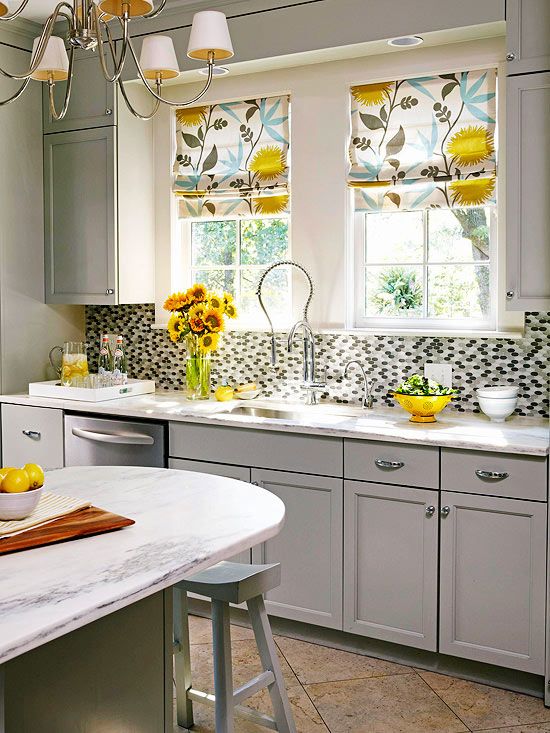
Here are a few we are liking at the moment:

FM12025ACL-02P866840~dtlFM13128BS-01P641559~dtl
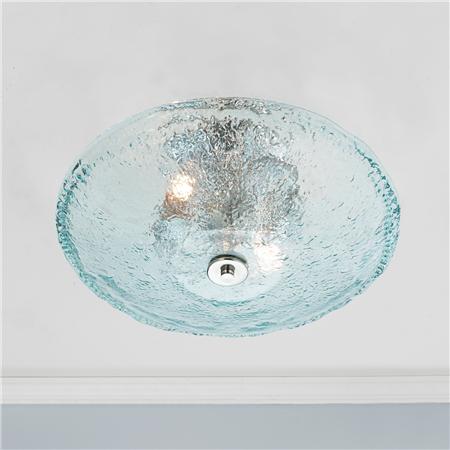
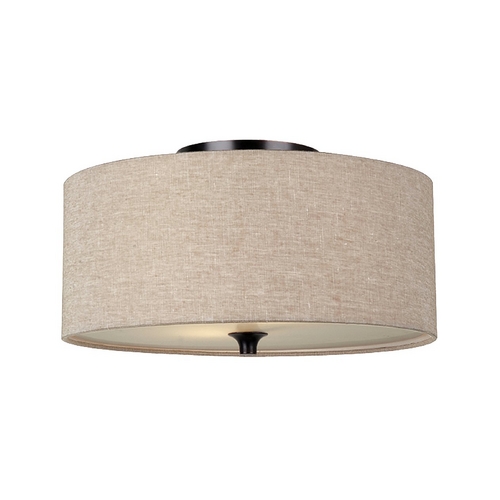
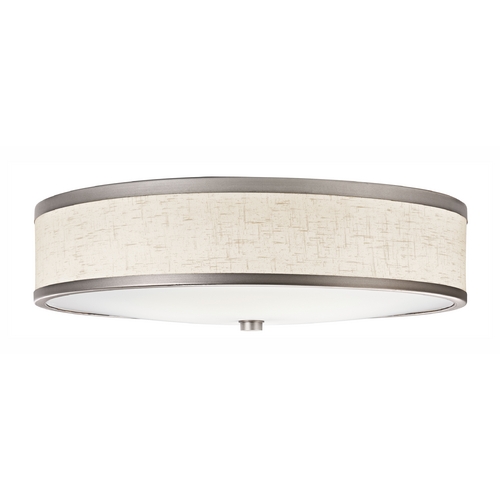
I found one the other day I LOVED that was $499. $499 x 3 = not happenin’. We originally wanted to do can recessed lights since they would be a non-offensive, cheap option, however there is not enough room for installation due to the roof line of that space. BOO. Now we are just having a hard time finding flushmounts that aren’t too modern/rustic/trendy/expensive that we won’t hit our head on (they have to be less than 8″ tall to have enough clearance for Josh). I really like fixtures that have the exposed bulbs, but we want to be practical and also use our ugly energy efficient ones… ARGH.

We will find something and we definitely have time, since insulation and drywall have to happen first anyway. 🙂 We are on the calendar for insulation next week!


Moving on.

Some of you may have seen my instagram shot of the interesting wall boards hidden behind our lovely wood paneling in the sunroom.

IMG_20140309_114749

I guess I neglected to mention on here that we are about to embark on another huge project: our “sunroom” and our living room.

Here is the living room before we moved in (listing photo-not our furniture):

654143724282d89117bba1e03f380518 52cd16572bfe73184ecc419142fd1f08

And then the photo we took during the inspection (yes, that is dust on the floor):

livingroom

Since moving in, we have taken out all of the shelving on the walls due to mildew issues. We think the books held lots and lots of moisture when the house wasn’t occupied. Yuck. It was gross, ya’ll.

Through the window ‘cut outs’ behind the couch is the “sunroom.” I put it into quotations like that because…well, our house doesn’t get much direct sunlight. Even though this room may have the most windows, it is only sunny for a few hours every day. I guess maybe in the future I will call it whatever we USE it for..

621e23f9266403b0a3129b2466e603bd 608f8005275b1f60fdbd2f949d096854

To be honest, we have no idea how we will use this room. It is basically a glorified hallway from the living room to our laundry room/mudroom/garage. The wall with the window cut outs is a load bearing wall and the floors and ceilings are different heights, otherwise, we would just rip out the wall and make the living room huge. In this room, we are going to:
-Take out and replace all trim (including window sills and window trim).

-Remove all wood paneling and replace with drywall.

-Remove ceiling tiles and replace with drywall.

-Remove and replace flooring (it is currently faux brick tiles).

-Move / Install new wiring to move light switches and install more lighting. This room currently only has one small light fixture-we’d like to have at least two or maybe three to provide enough light.

-Insulate all windows, walls, and ceiling.

-Widen the door and window cut outs from living room (if possible).

-Prime and paint all walls, ceiling, door, trim, windows.

-Prime and paint baseboard heater covers.

-Figure out furniture/use of the room, then decorate.

As far as the living room goes, we have one major inspiration photo that makes both of us really super excited:

Granted, that house has way more windows and higher ceilings and a different layout..but..holy yes, I want our room to have the FEELING of that room.

So, how will we get there, you ask? We will:
-Remove all paneling on walls and ceiling.
-Move / install new electrical wiring to center our light fixtures/fans between beams (they are currently NOT centered and it drives us crazy!) and possibly move light switches.
-Insulate all walls and ceilings.
-Drywall all walls and ceiling (We will probably have to have a layer of drywall to have a “fire barrier” for our spray in foam insulation in the ceiling..more on that later).
-Whitewash/Distress Panels for ceiling and install.
-Replace, prime and paint trim around windows.
-Prime and paint walls, trim, window panes and sills.
-Replace all outlet and light switch covers.
-Widen door and window cut outs into sunroom.
-Install extra flooring (which the previous owners left for us in the attic!) where the door was widened.
-Sand and refinish flooring to match newly installed floor where door was widened.
-Paint baseboard heater covers white.
-Buy window treatments and you know…decorate. Haha!

We are currently on the removing wood paneling step, so…we have a ways to go! Wish us luck!

Planning the Pantry

Doesn’t everyone have a pantry that looks like this?

2ebc8e47577cd67304217a22e95cb3e7

Nope? What about this?:

0c7efeb4f5c26e8127201521750f6e03

Or my favorite:

e8734b8ea479867afc0e1f0afd6f6a64

I’m pretty sure everyone at some point in their life has had a pantry that looks like mine and we all wish we had ones that look like above:

image

Yep..one scrawny little shelf, with a bunch of crap on it. That is…embarrassing.

Funny story: Every time a recipe we wanted to make had canned tomatoes, we bought canned tomatoes. If we didn’t end up making said recipe that week, the canned tomatoes stayed in the pantry and the next time a recipe called for canned tomatoes, it was added to the grocery list and bought again. Since we couldn’t see what we had in the pantry…we accumulated like 12 cans of tomatoes.

c93baffd3511c839227b96d486ca2496ec

While looking for pantry inspiration that is actually ATTAINABLE for real life people who don’t have 100s of matching glass jars, I found this gem:

29906784995078381_mJy0K1FO_f

Holy yes. You can see everything, I am always looking for excuses to buy baskets, and it is totally doable for any real-life person without dropping a huge chunk of $$$ into it. We had a plan.

The next day, we measured our space and went to Home Depot to get the materials we needed for the project, which included:

  • Wood for shelves (We bought 1x4s which will hold the boards up, and 10 foot boards, which we will cut in half to create the shelves. Unlike the above picture, the two shelves on the bottom will be deeper so that we can fit some small appliances like our waffle maker, rice cooker, etc.
  • Stain and sealer for shelves (We bought Minwax Weathered Oak, decided we didn’t like that shade next to the normal oak doors, then bought Minwax Ipswich Pine)mwf_ipswichpine
  • Paint for walls (We ended up buying Behr Ultra Premium Plus in Pale Cucumber and painting the hallway + pantry walls before I took a before picture)

palecucumber

And now we are in the process of staining and sealing all of the boards which will become shelves here in the next couple of days! I am so excited to get our pantry items OFF of our dining room table and organized! Hoping to have a post on that by this weekend (crossing fingers!).

Kitch-inspiration

kitchenkitchen2

lfd621744-m5x

Here are some of the before pictures of our wonderful kitchen space. There are many reasons to love this kitchen but we had two major ones that helped us to look past the wallpaper, knotty pine cabinets, aqua countertops, and terrible flooring. #1: It is ginormous. Lots of room for both Josh and I to whip up some amazing meals AND enough room to spare for dance parties with Tucker. #2: The brick surrounded wood stove is the bomb.com.

When you google 1950’s kitchen, this is what pops up..a5e2d286bcdb951c5e56145ffa02ce6b

Ours looks almost exactly like this! (If you click it, it links to a website called Retro Renovation, the writers of that blog would probably punch me in my face because I am painting over Knotty Pine. As they say, Knotty is Nice!)

While some people may love it, the cabinets, floors, countertops etc. are just not our style, so after choosing to buy this house, I went straight to pinterest for some inspiration. Those of you that follow me on pinterest have seen these before, but pinterest doesn’t let me explain exactly what I am thinking..so to the bloggity blog I come!

In pretty much all of these photos, you’ll see white cabinets, oil rubbed bronze pulls/knobs, and farm house sinks. Those are the things that we know fo’ sho are going to happen. But here are a few other things that we would love to implement in our space:

dd5b9036e887b28eaba5a8750217fc10

  • Over sink lighting: With two of something like this or this or this since the outlets are on the wall already for that. Don’t want to have to run MORE electrical if we don’t have to for pendants.

1ebcb09d658b682692cecb901d411c515ec453f5f0f4d8ae8136a7bad3ceb30a

  • Bricks-I love the coloring on the bricks above-not sure how to do this or even if we want to..Depends on what everything ends up looking like once paint gets up on the cabinets and walls..Also will be doing stacked firewood in the bottom right fire storage area that isn’t very noticeable in the before picture.

6542645ea1f4ffcc811f8fbc3d603a11cb0c52a6b55d2514048bdc391b11063c

  • Colorful roman shades/window coverings: Preferably with Aqua/Teal in them so that they play with the countertops!

218640032e3660fc546bcba23c2eabeb

dbc7d6a588abcf1edf757e47fee03b68

  • Corner seating for casual dining

924186dea2da1912d79bb2e6a60ff64264ca9f10f9f36e05f21fd0189ac9bf57

  • A movable/portable kitchen island: We want a big island at some point, but for the time being, we want to be able to move it around, play with different configurations, etc. When we get to the point of doing countertops/layout reworkings/flooring, we’ll want to have worked out any kinks we may find with the movable island so that when we take the plunge and install a big one with and oven or range built in, we won’t regret the decision. We will likely do something like the dresser one above with a butcher block top.

5d203a941bcb44b4c83c8c066fa550b02adb470a5c14758c7586e4ace26c7157

  • Bright Dutch Door: The dutch door in the kitchen was one of our favorite features of the house. Definitely want to play it up and make her the star of the kitchen, so a bright color is a must.

That is it for now, but I am sure more Kitch-inspiration will come along once these projects are done. Countertops, flooring, and appliances will happen eventually but ya’ll better be very patient because we will need to win the lottery for those to happen any time soon!!