Couch Potatoes

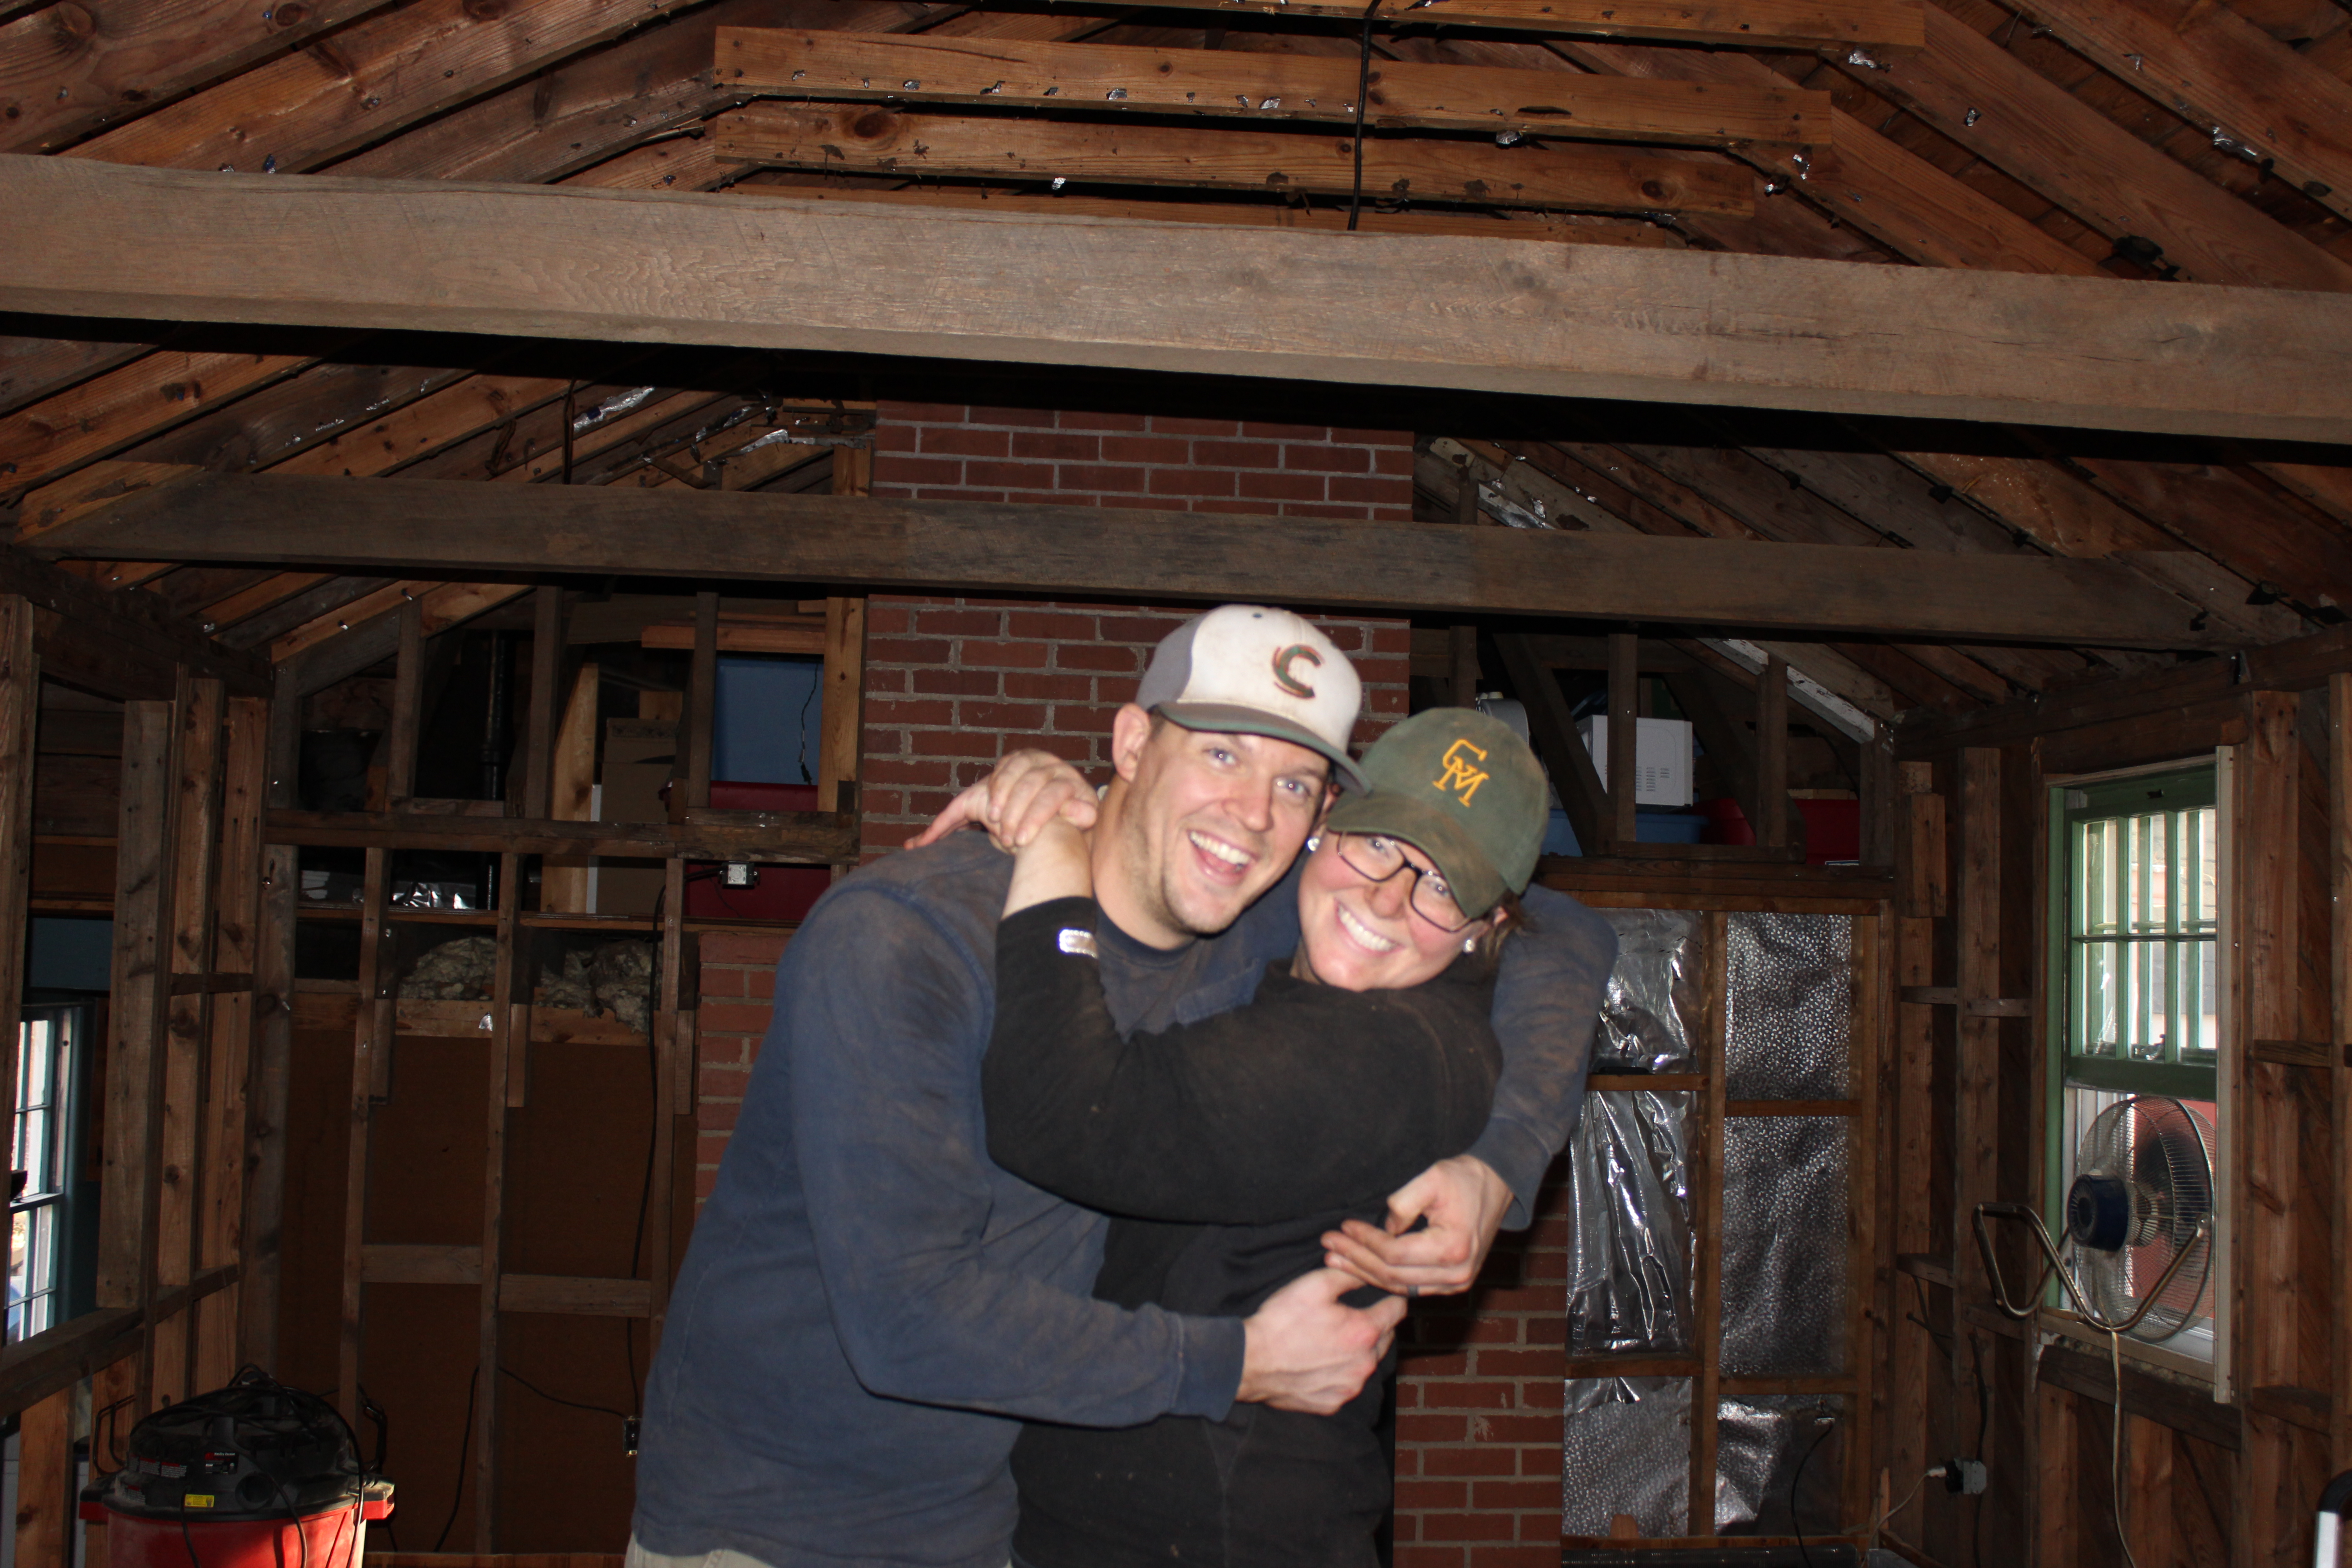
If you don’t follow me on instagram, you probably think we have passed the blogging responsibilities down to Tucker, who unfortunately cannot type, or completely given up on this little old house of ours, OR that we are being lazy couch potatoes. If you do follow me on instagram, you’ve seen this:

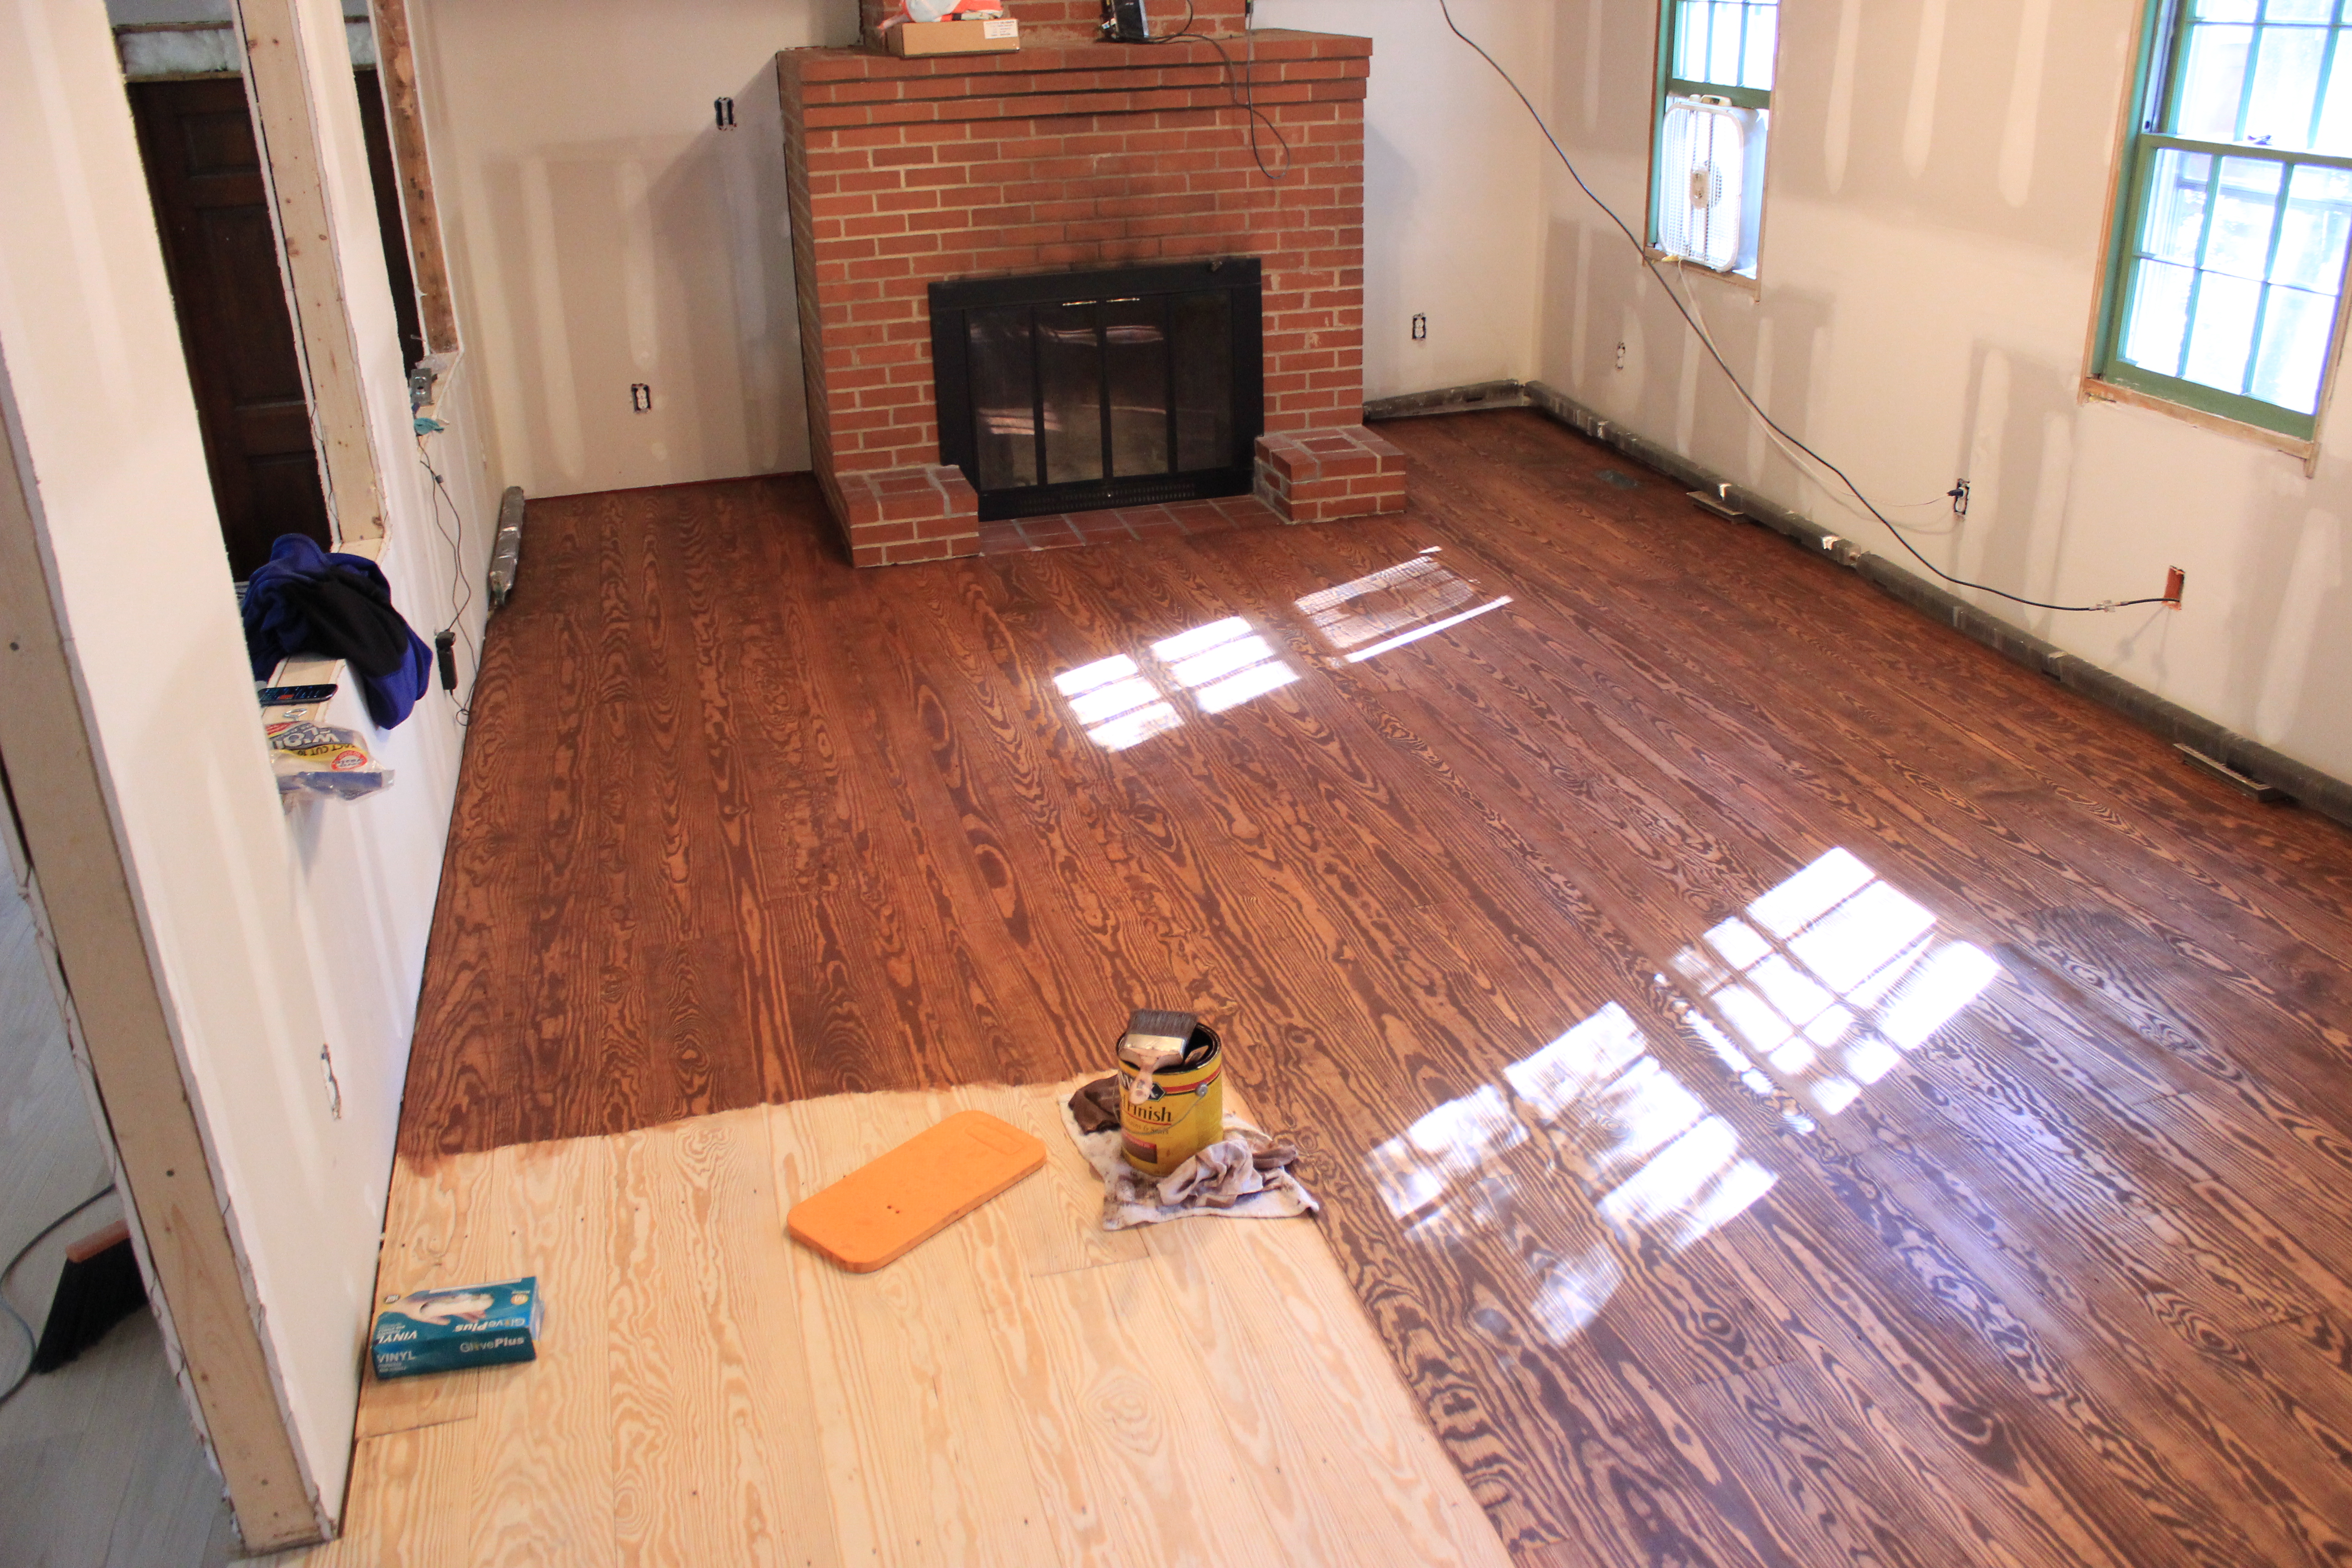
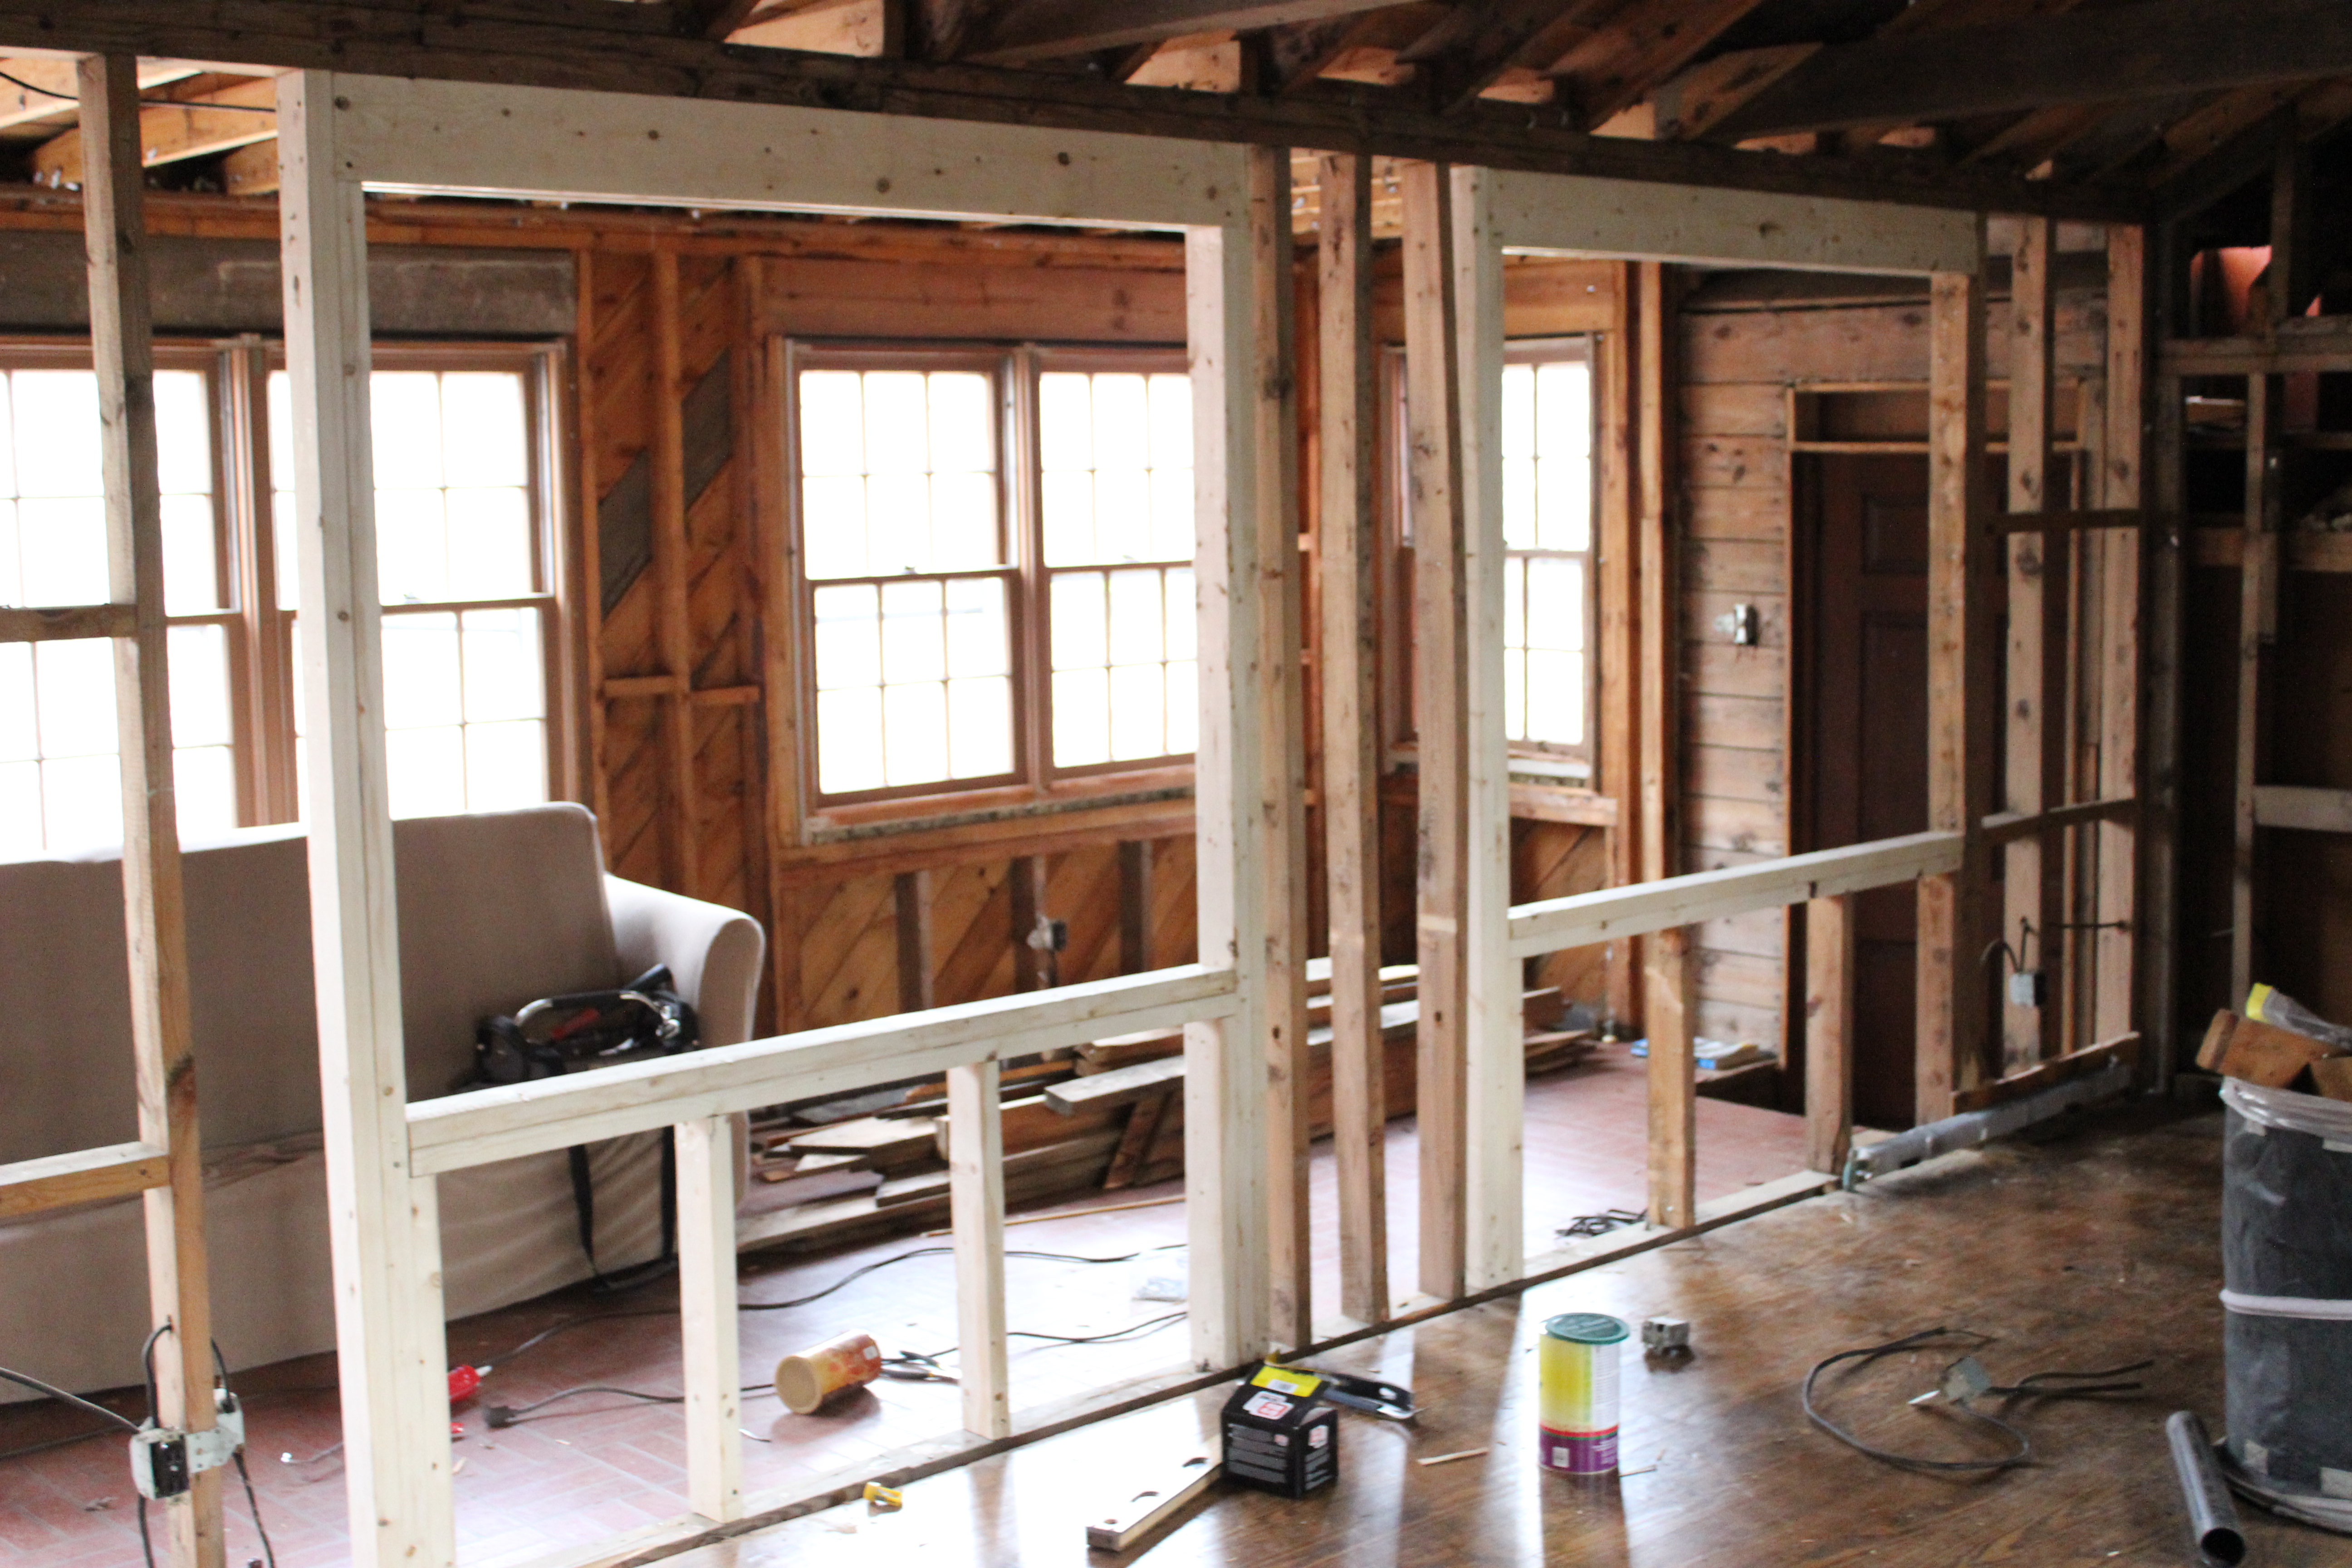
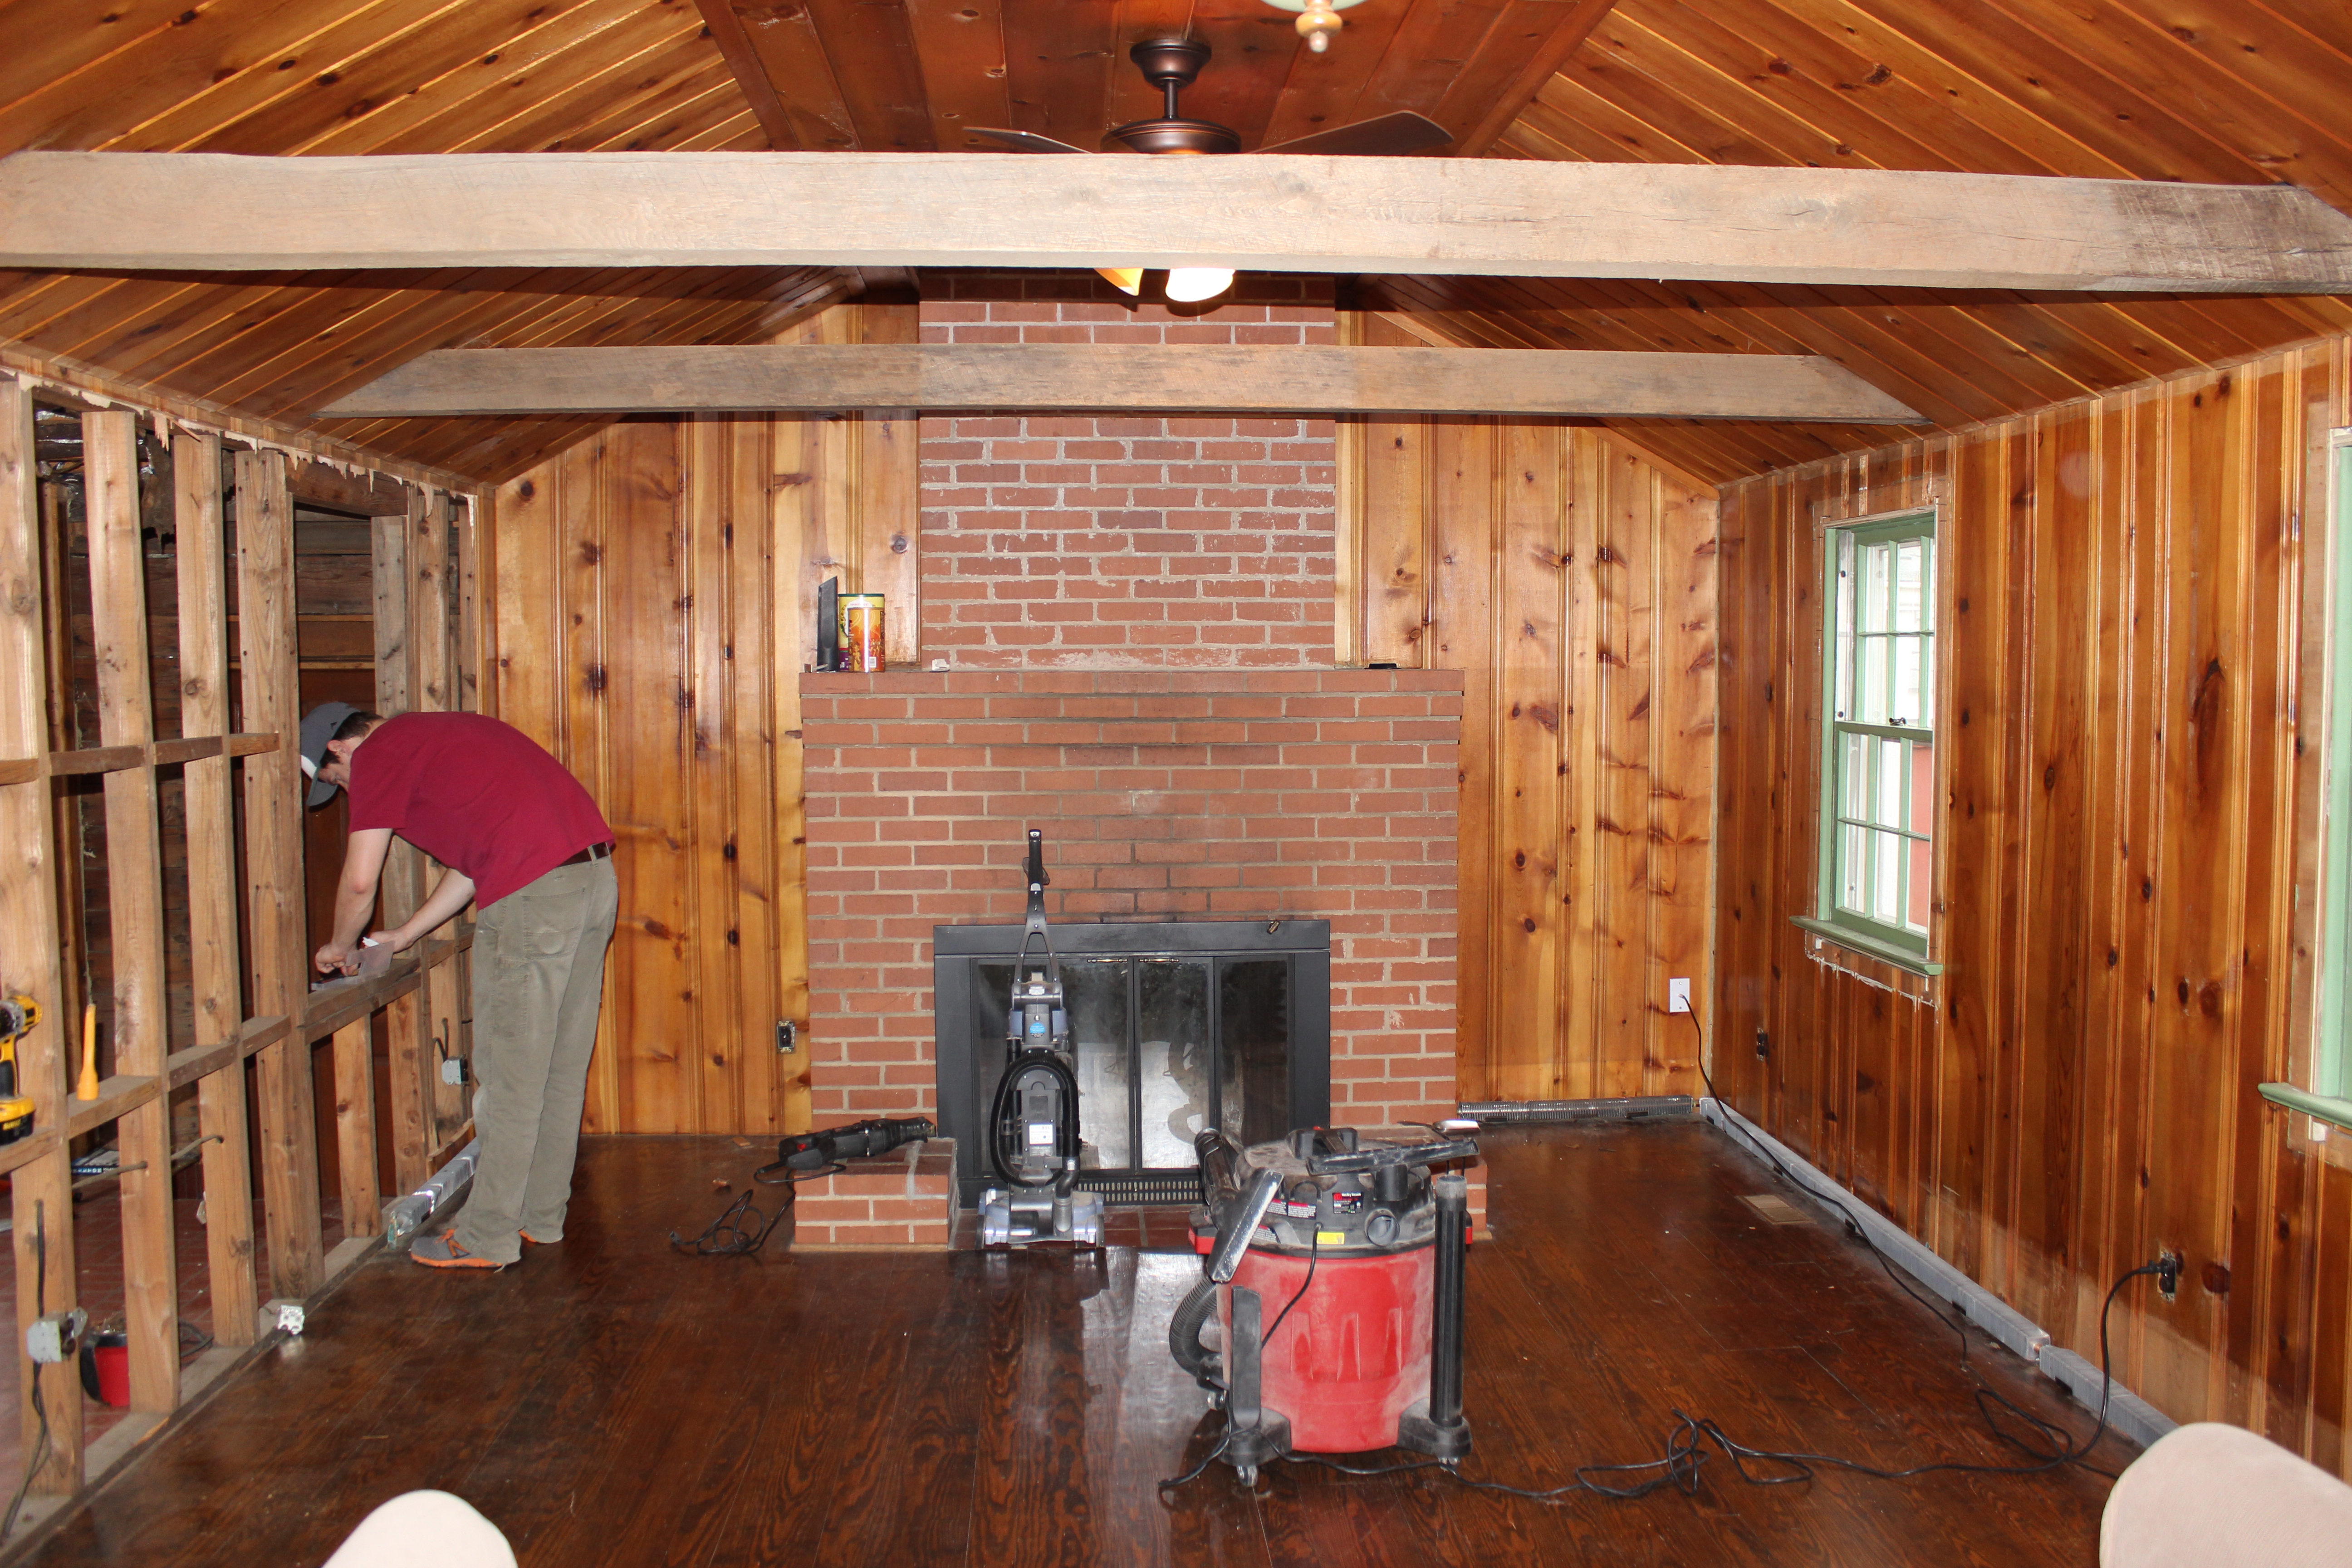
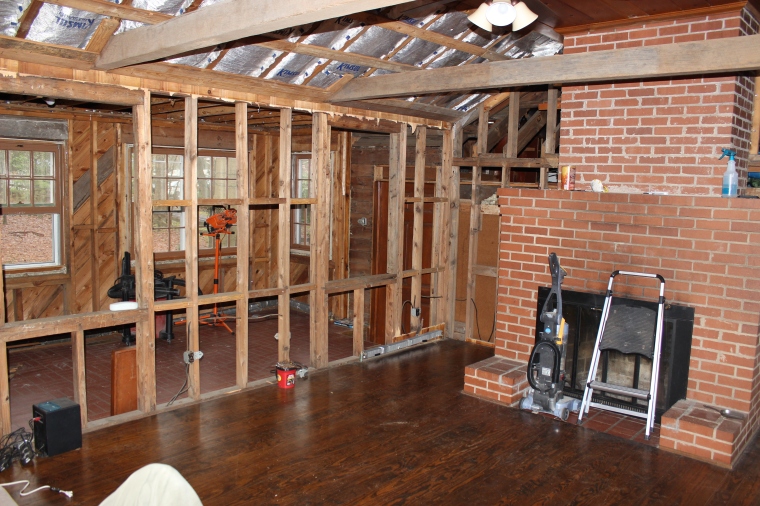
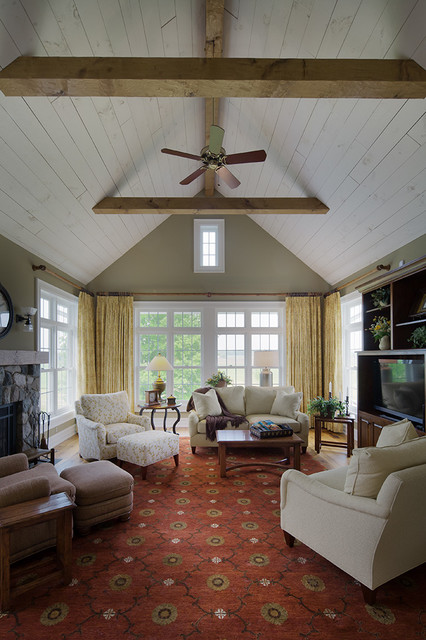
Truth is, our living room is 97% done. We have to do the trim around the beams and a few paint touch ups, but I’ve been holding out on all update photos because..we bought a sofa and a loveseat! And it will be 6 to 8 weeks until we have them. And we’ve been working on and blogging about this project since March so I feel like I can drag it out longer. But we are so close to having real-life adult furniture! YAY!

For local people, we went to North Carolina Furniture and Mattress and it was glorious. The brands they work with have great reputations for quality, the sales people are polite and don’t hound you like the other bigger stores do, and everything is custom ordered based on your specifications. We first went in on Black Friday (in the evening-I’m not THAT crazy) wanting to walk around and see what they had. They had a sweet sale going on that ended on Sunday, but we hadn’t seen what we were looking for ANYWHERE and weren’t ready to commit to anything. We sat our butts in every couch they had (because literally all of them are beautiful and comfortable) and once we left, we had two major contenders in our search! We got there about 40 minutes before closing time, so we told Susan (their in-house designer) that we would likely be back on Saturday to look a bit more. She told us to measure our room so that she could put together a floor plan with our two sofa contenders and talk about traffic flow, rug sizes that would work in the room, etc. We went in on Saturday afternoon, sat in our two contenders again, discussed the floor plans Susan drew up, and took home about five fabric samples. On Sunday afternoon, we went in and ordered them! I can’t speak highly enough about our experience. They made it so easy and fun and we can’t wait to see our gorgeous sofa and love seat in person soon!

Since I know it is killing you not knowing what we got, we ordered the Flexsteel Westside Sofa and Loveseat in a Charcoal Gray color that has a beautiful texture that unfortunately my monitor doesn’t pick up. We chose the Florentine leg color and even got to choose fabrics for pillows (the stripes and floral below)! Simple & Classic 🙂

416-03-w600
photo from http://www.Flexsteel.com
377-21-w600
photo from http://www.Flexsteel.com
730-01-w600
photo from http://www.Flexsteel.com
5979-30a_s
photo from http://www.Flexsteel.com

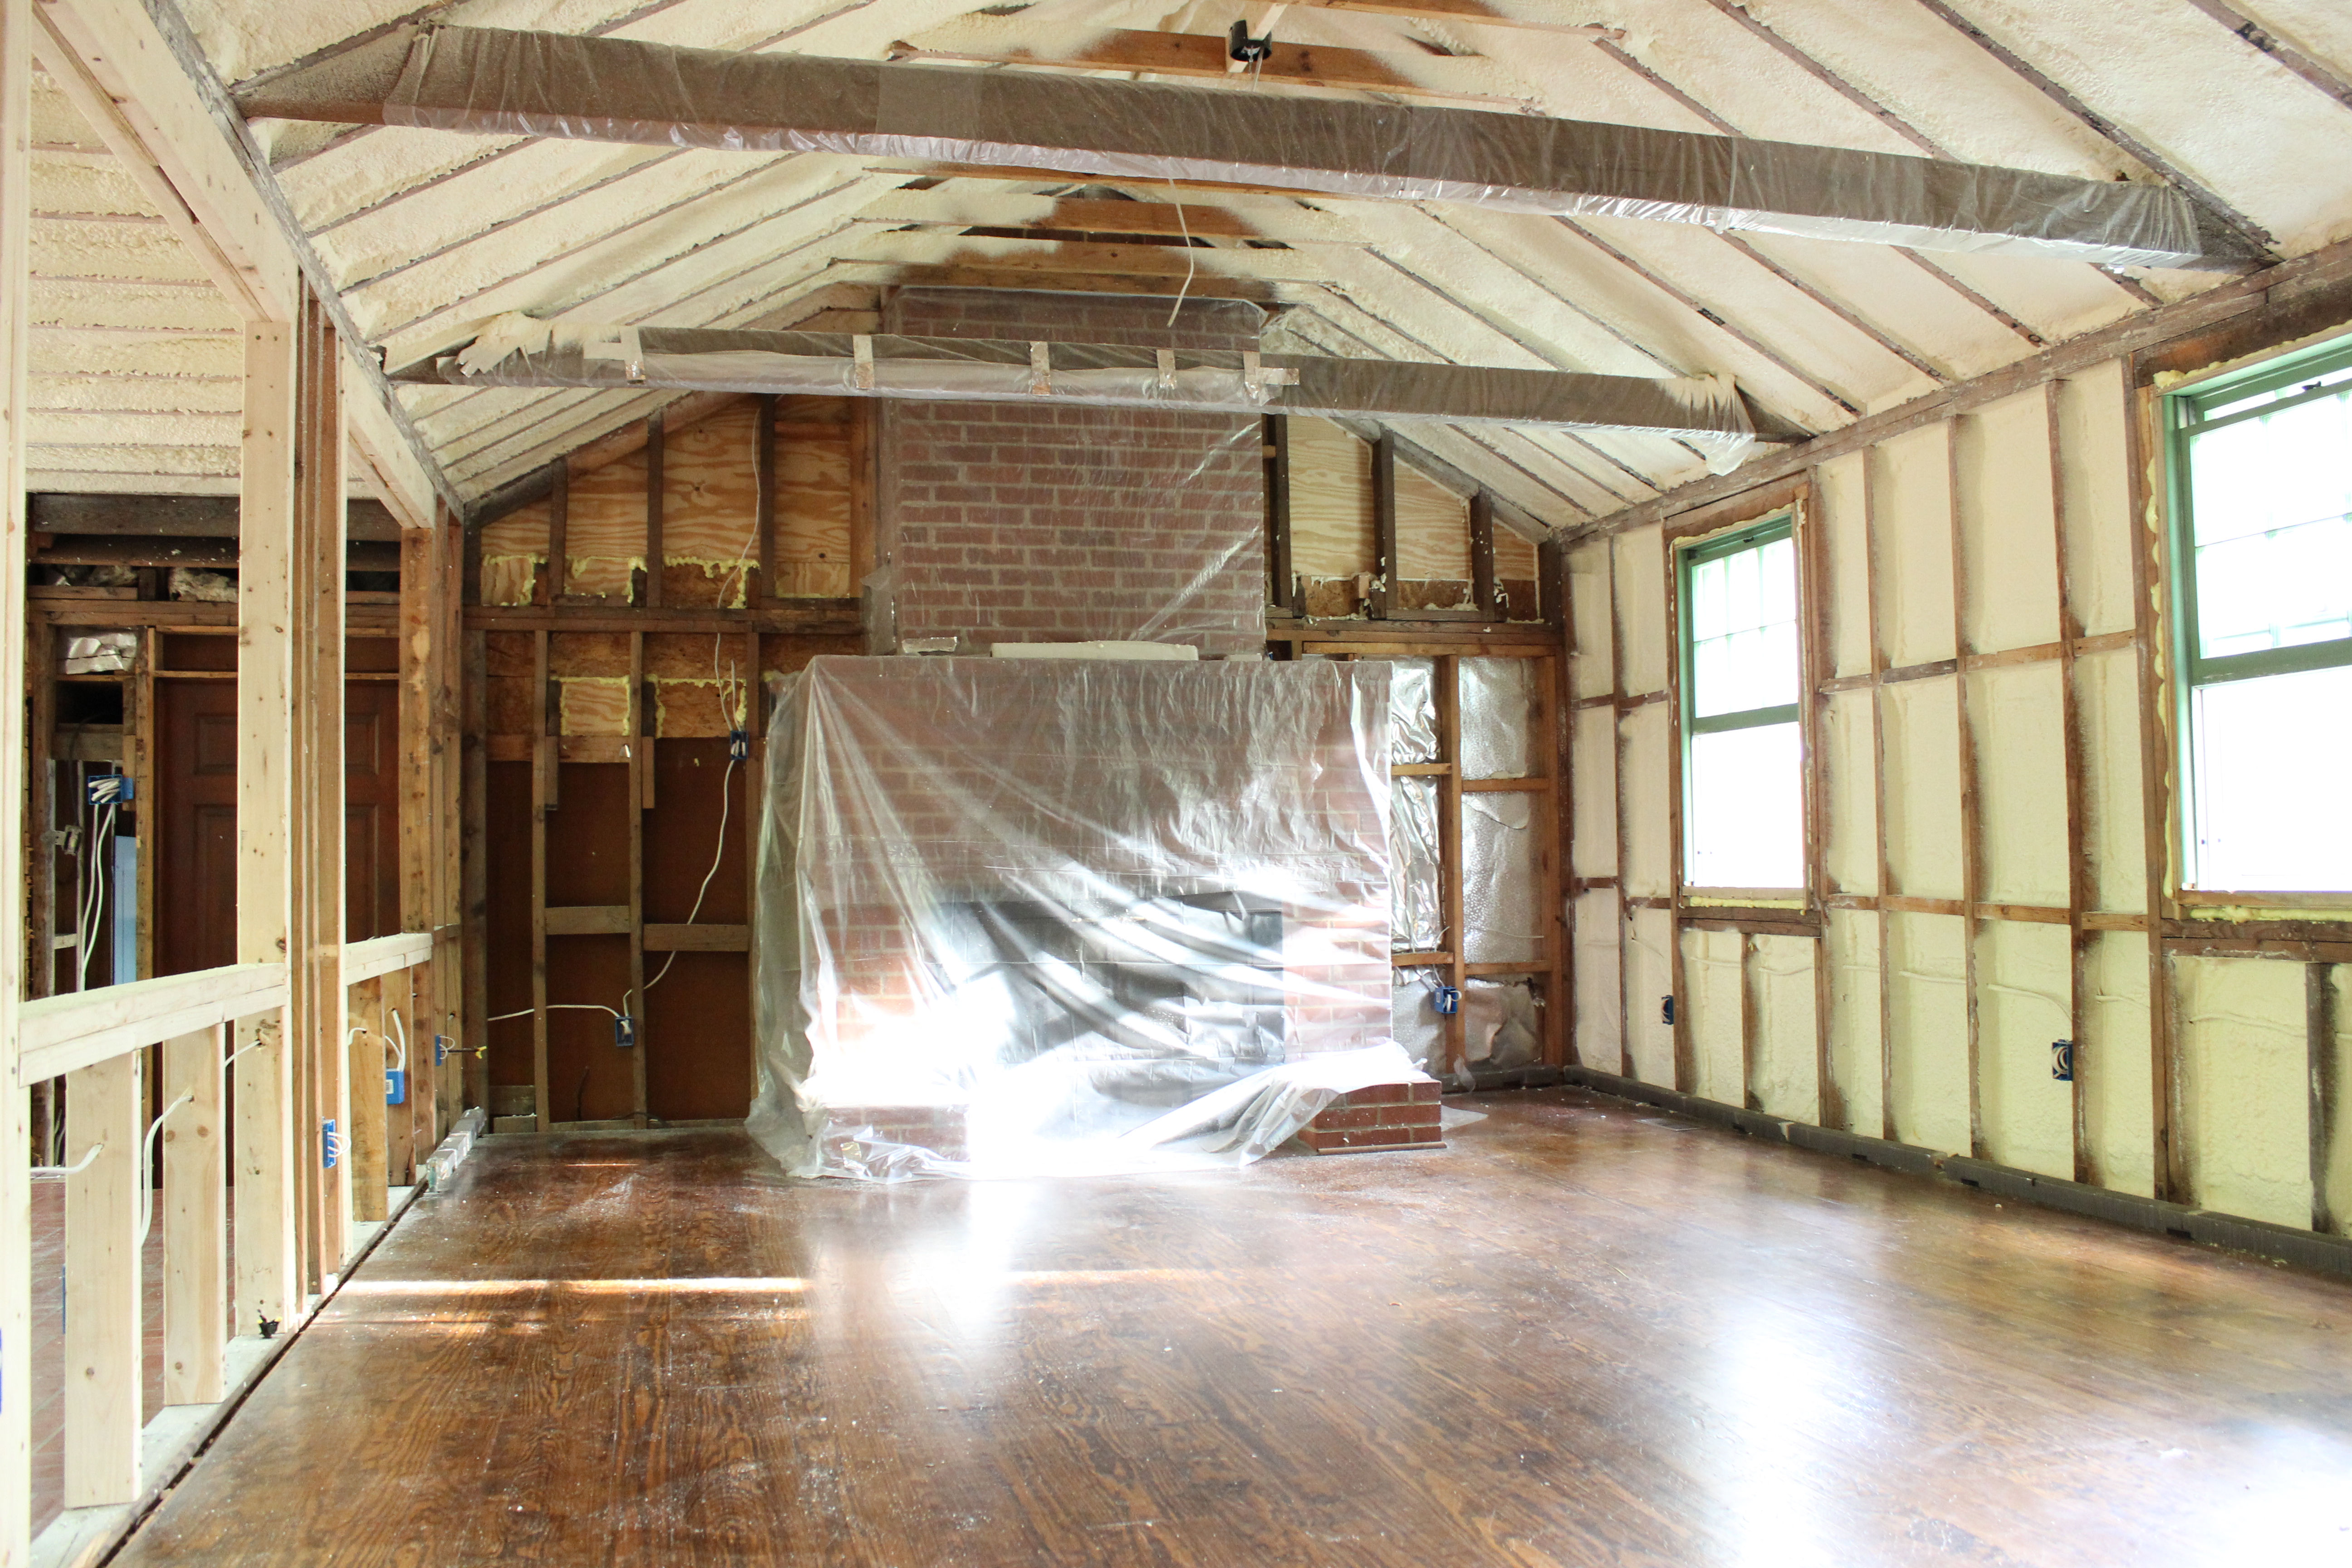
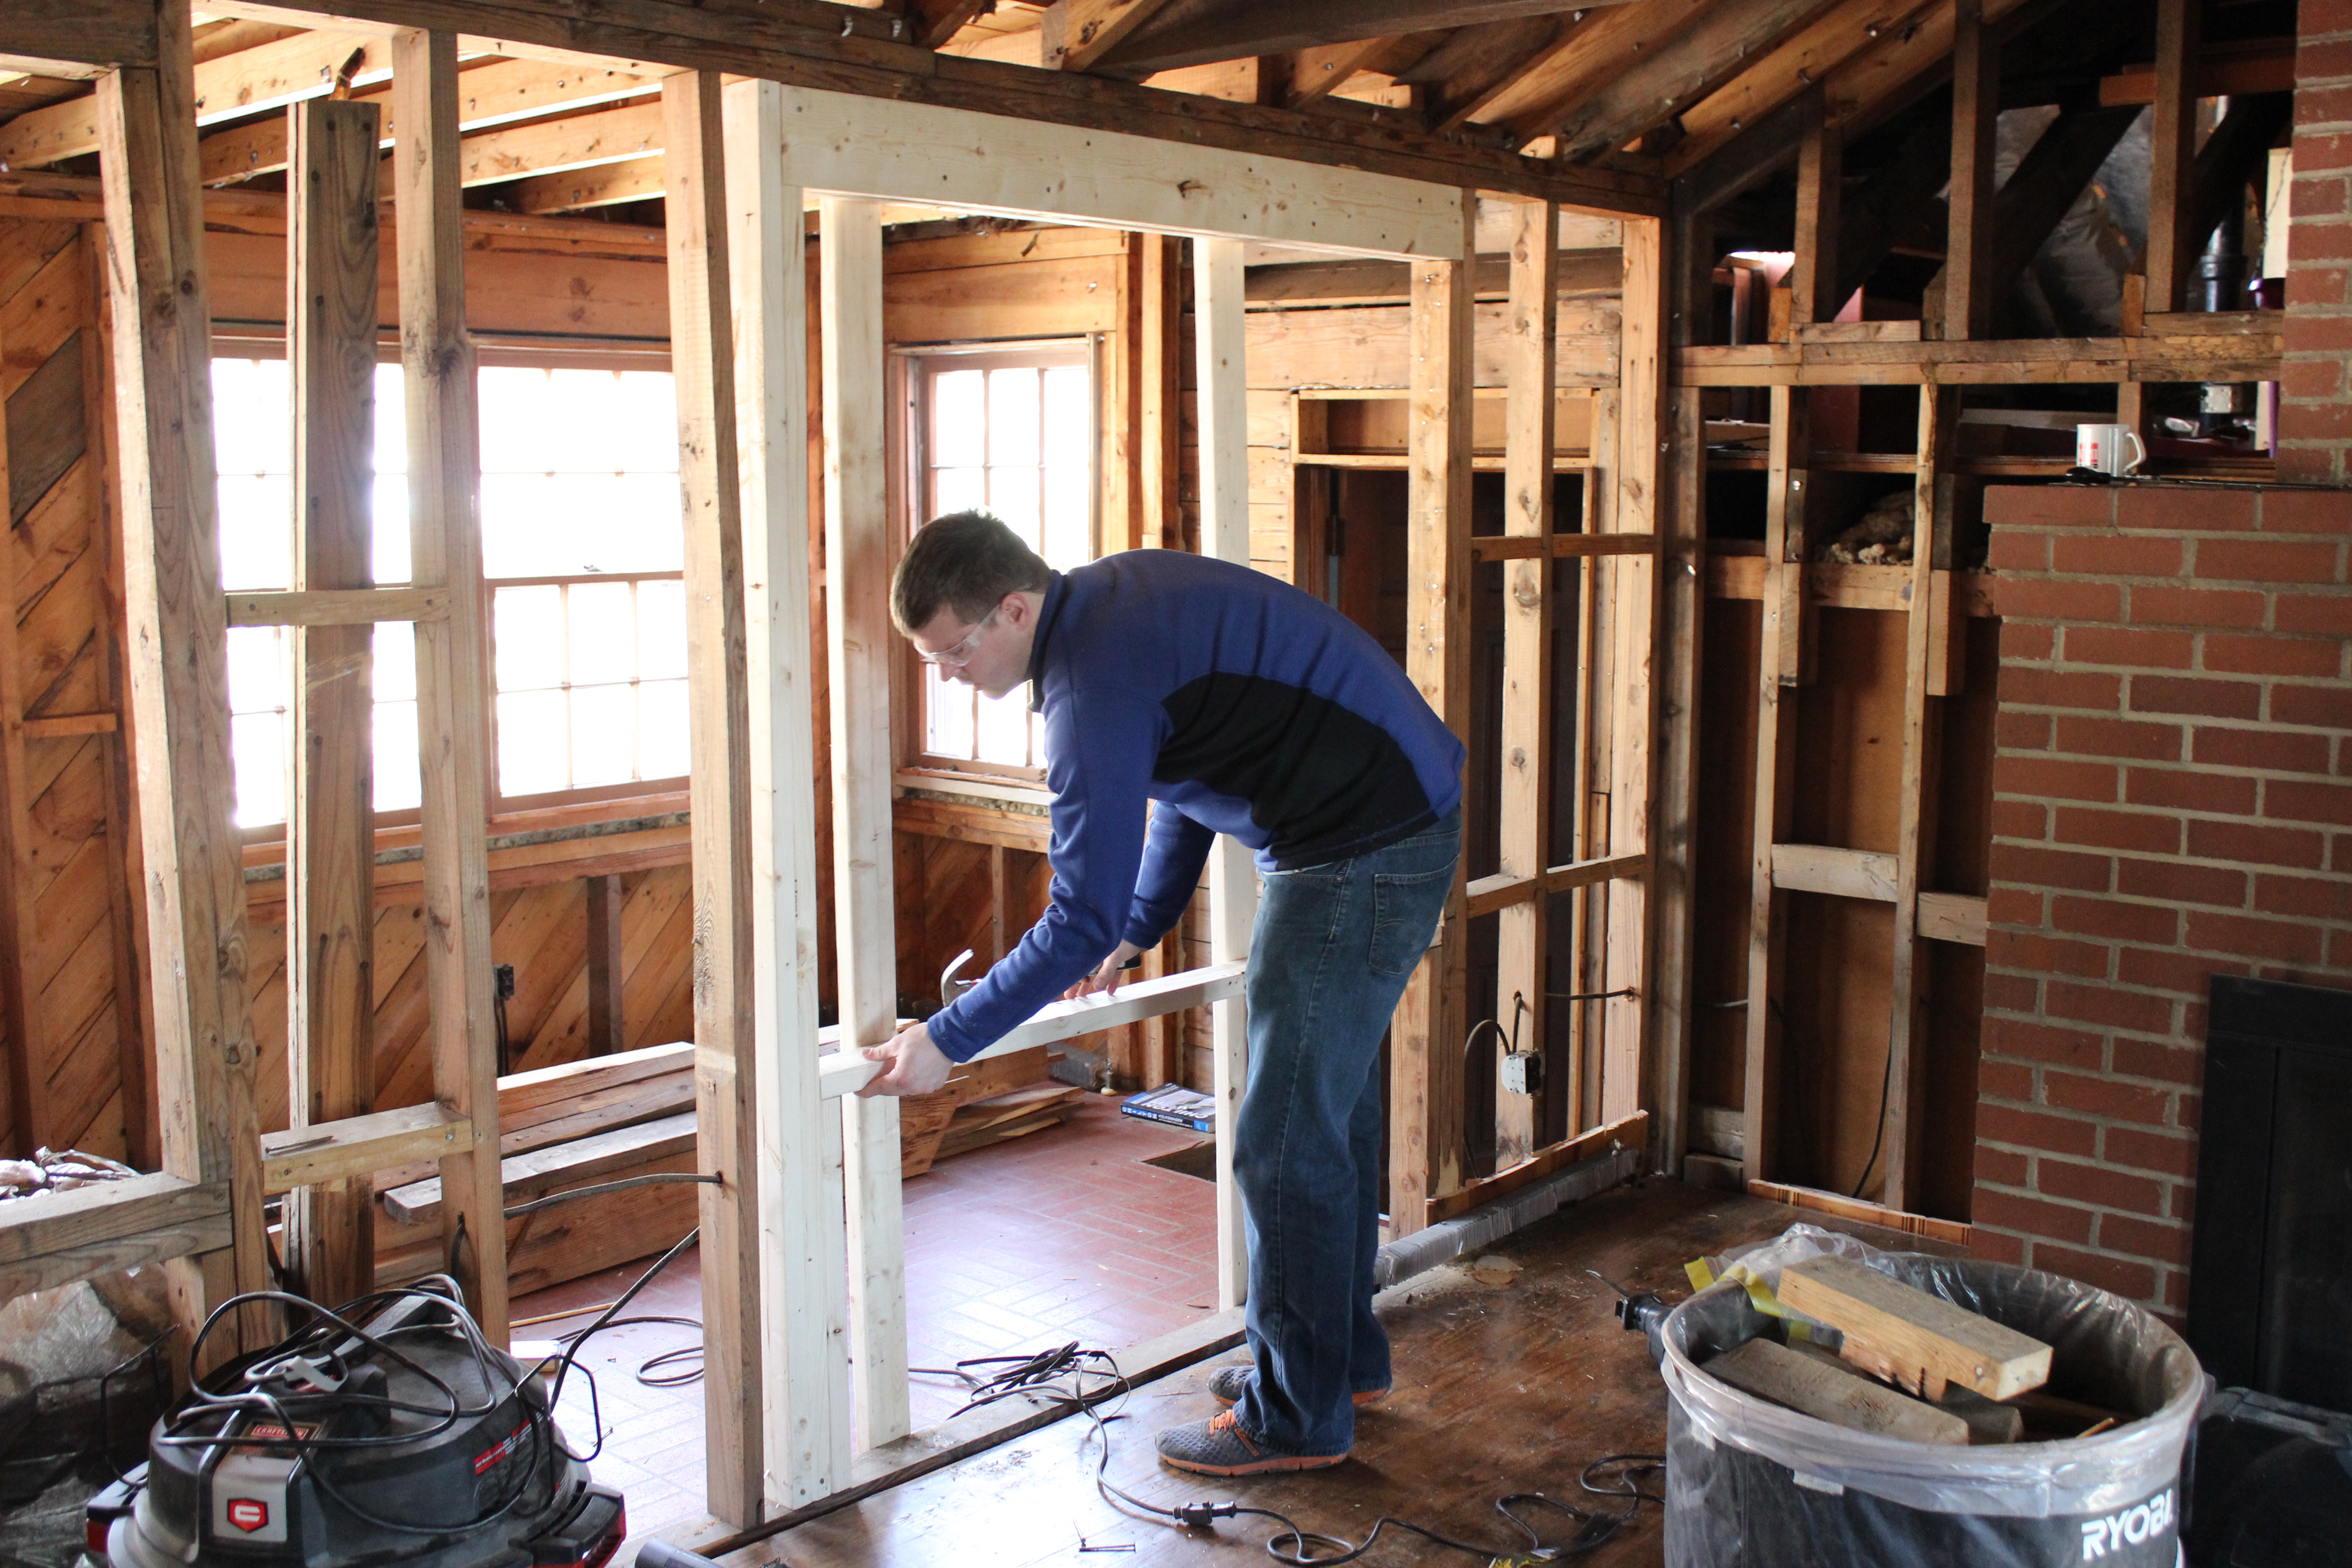
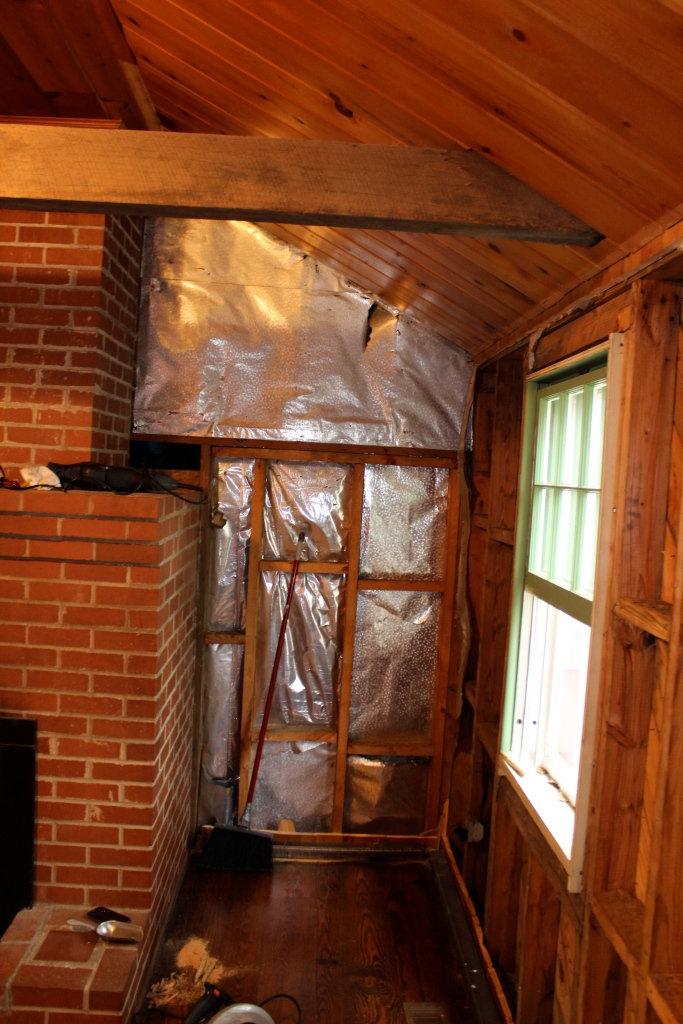
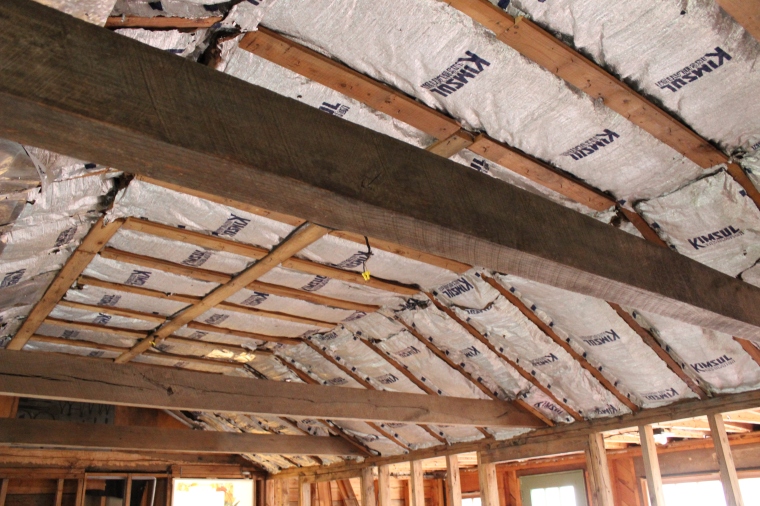
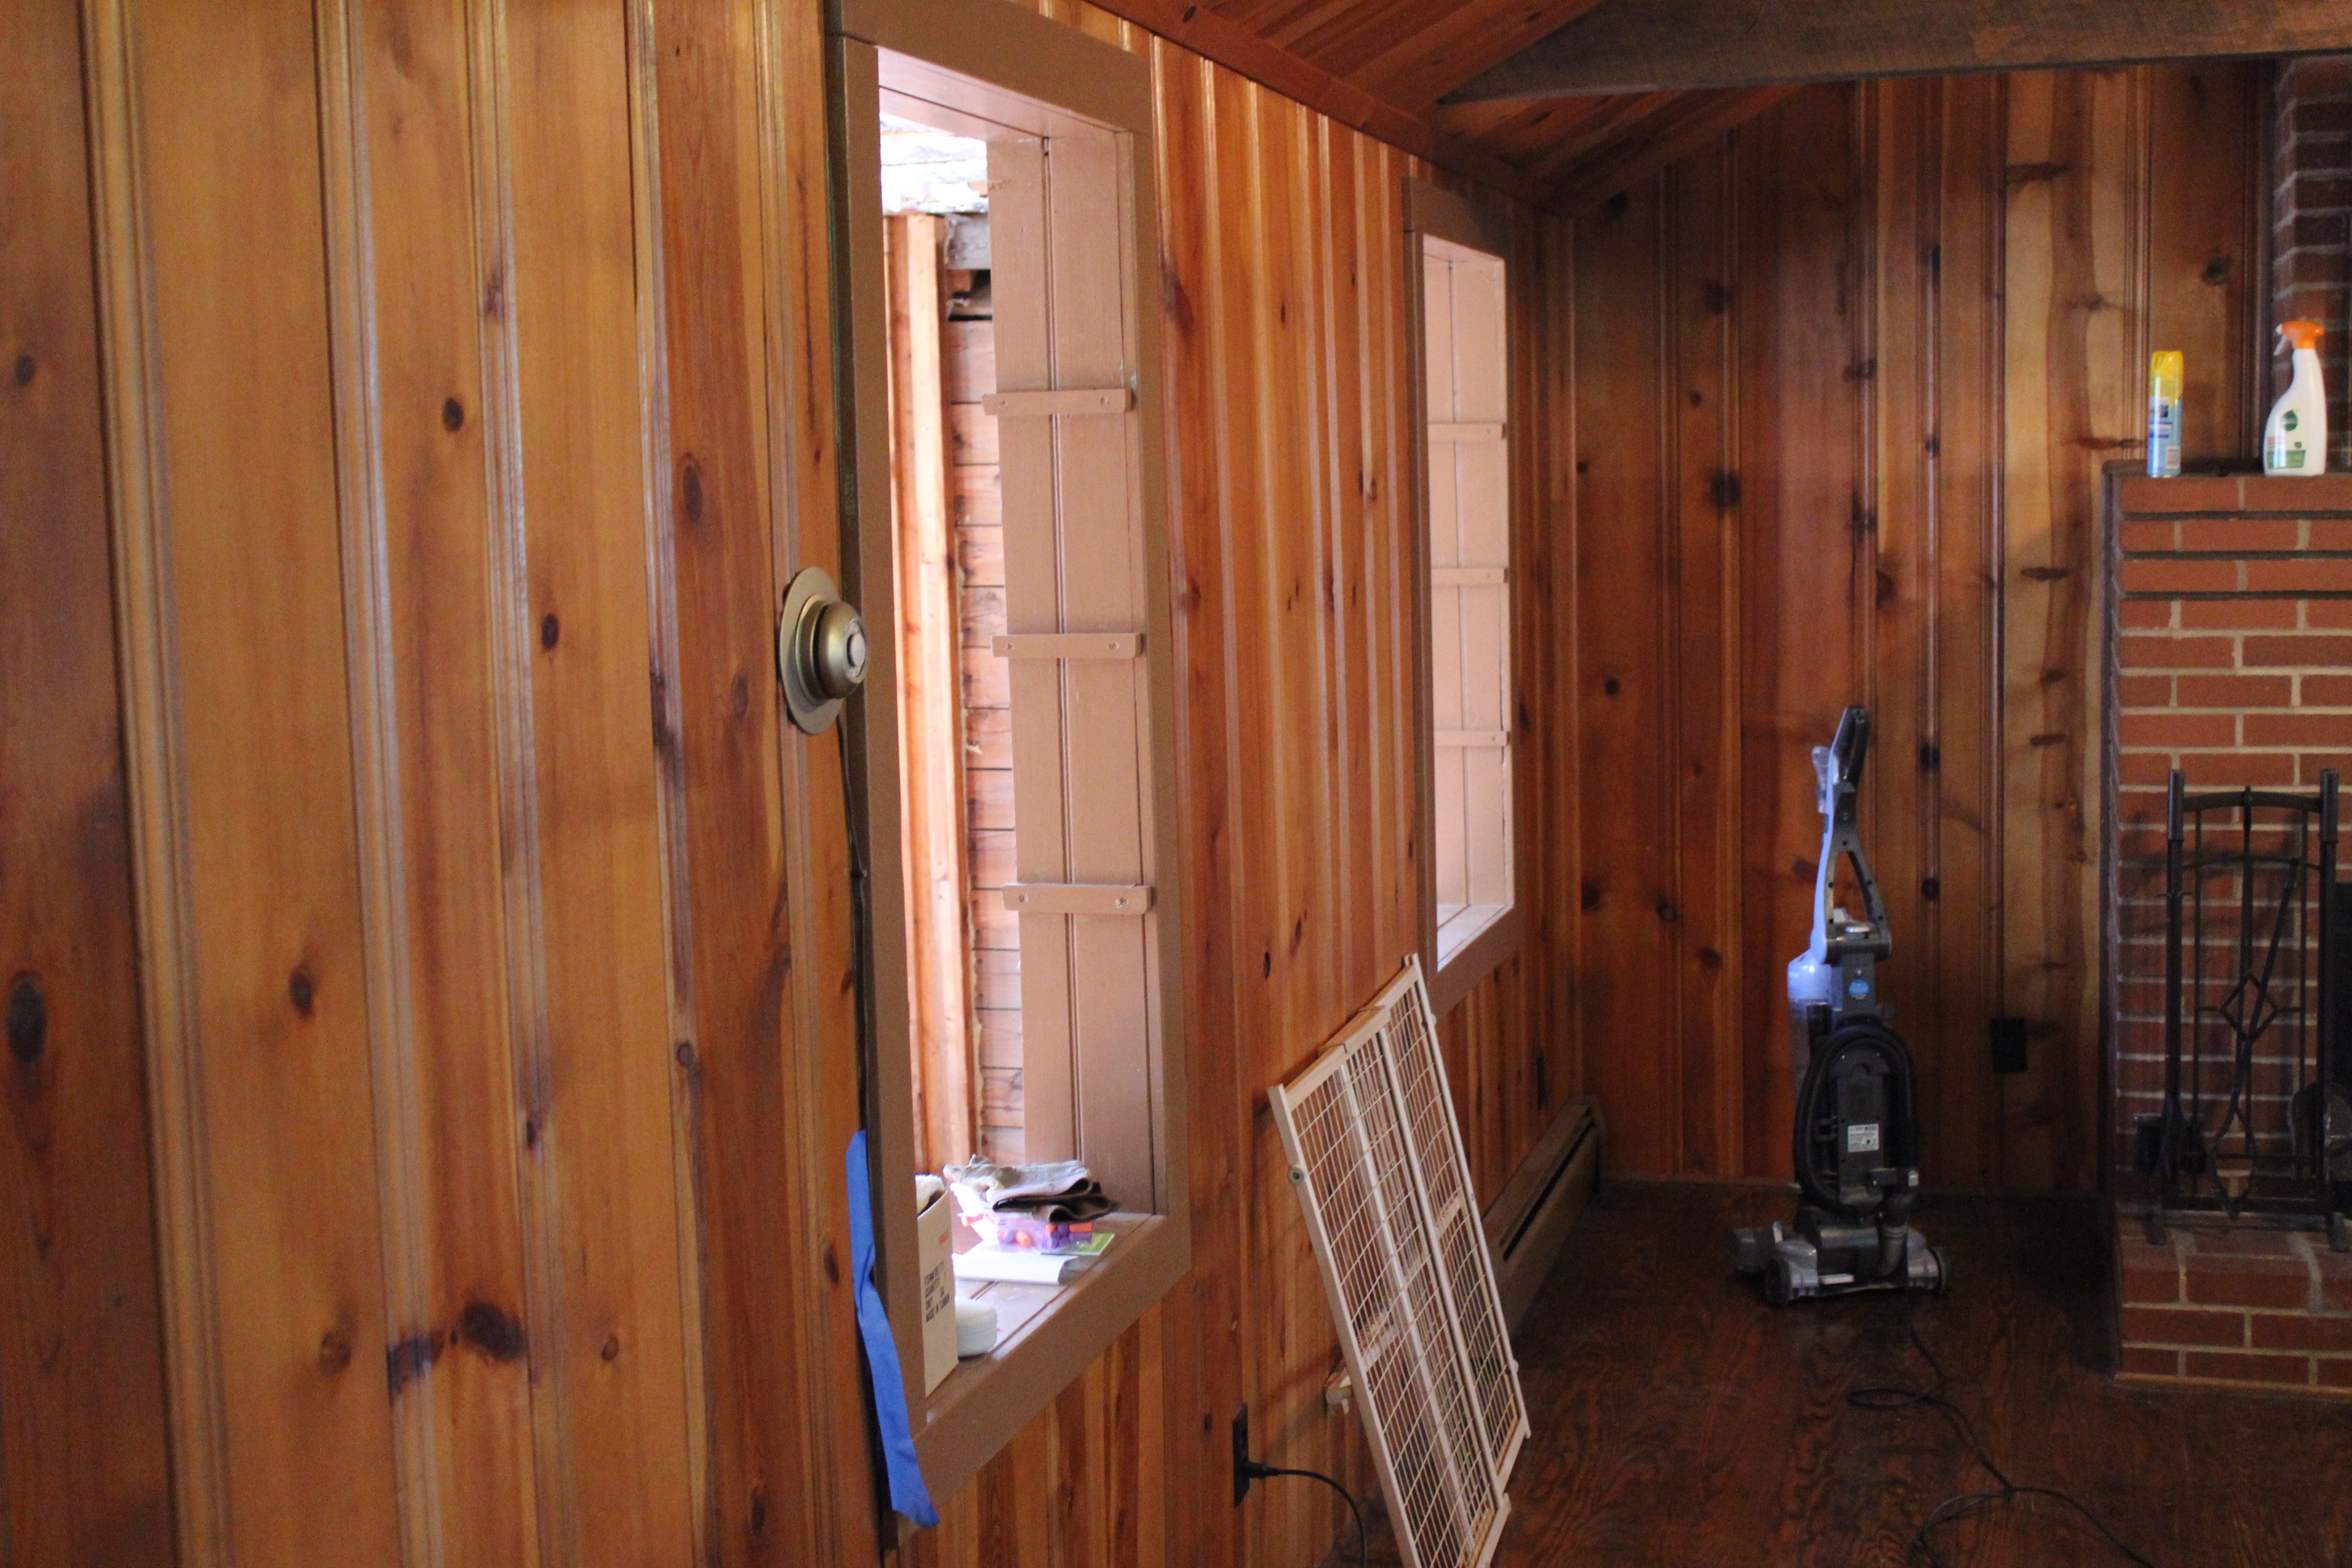
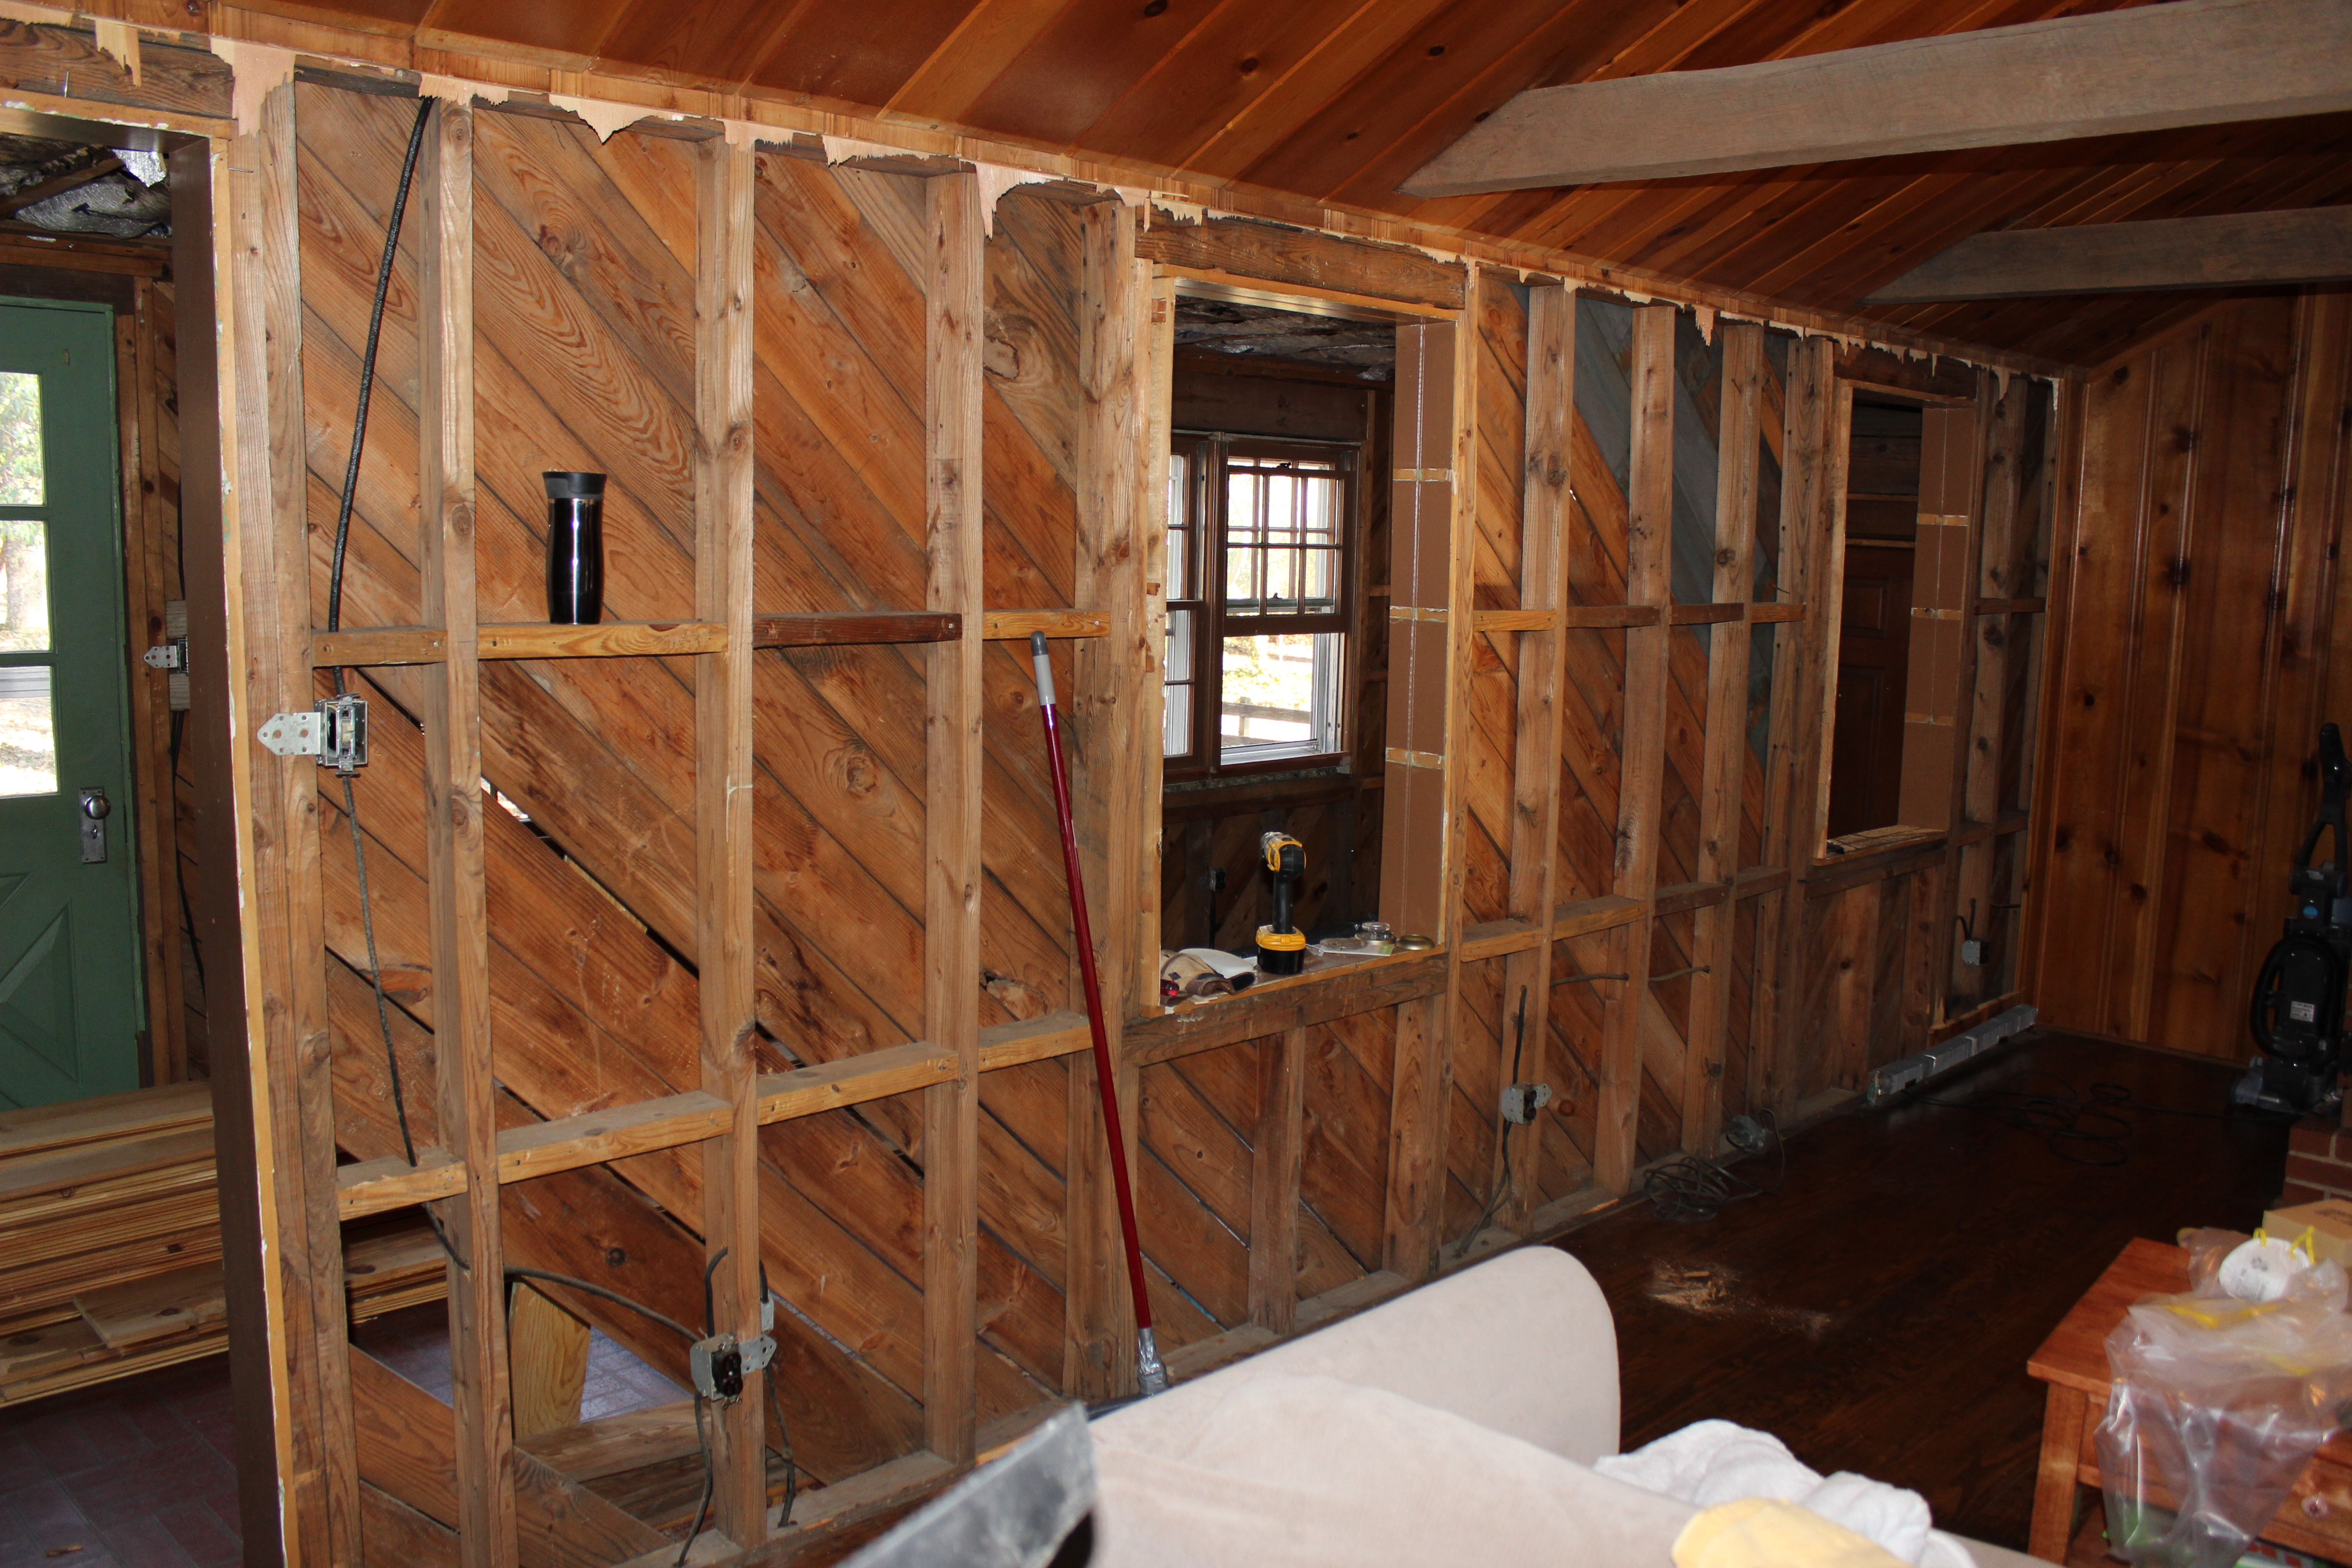
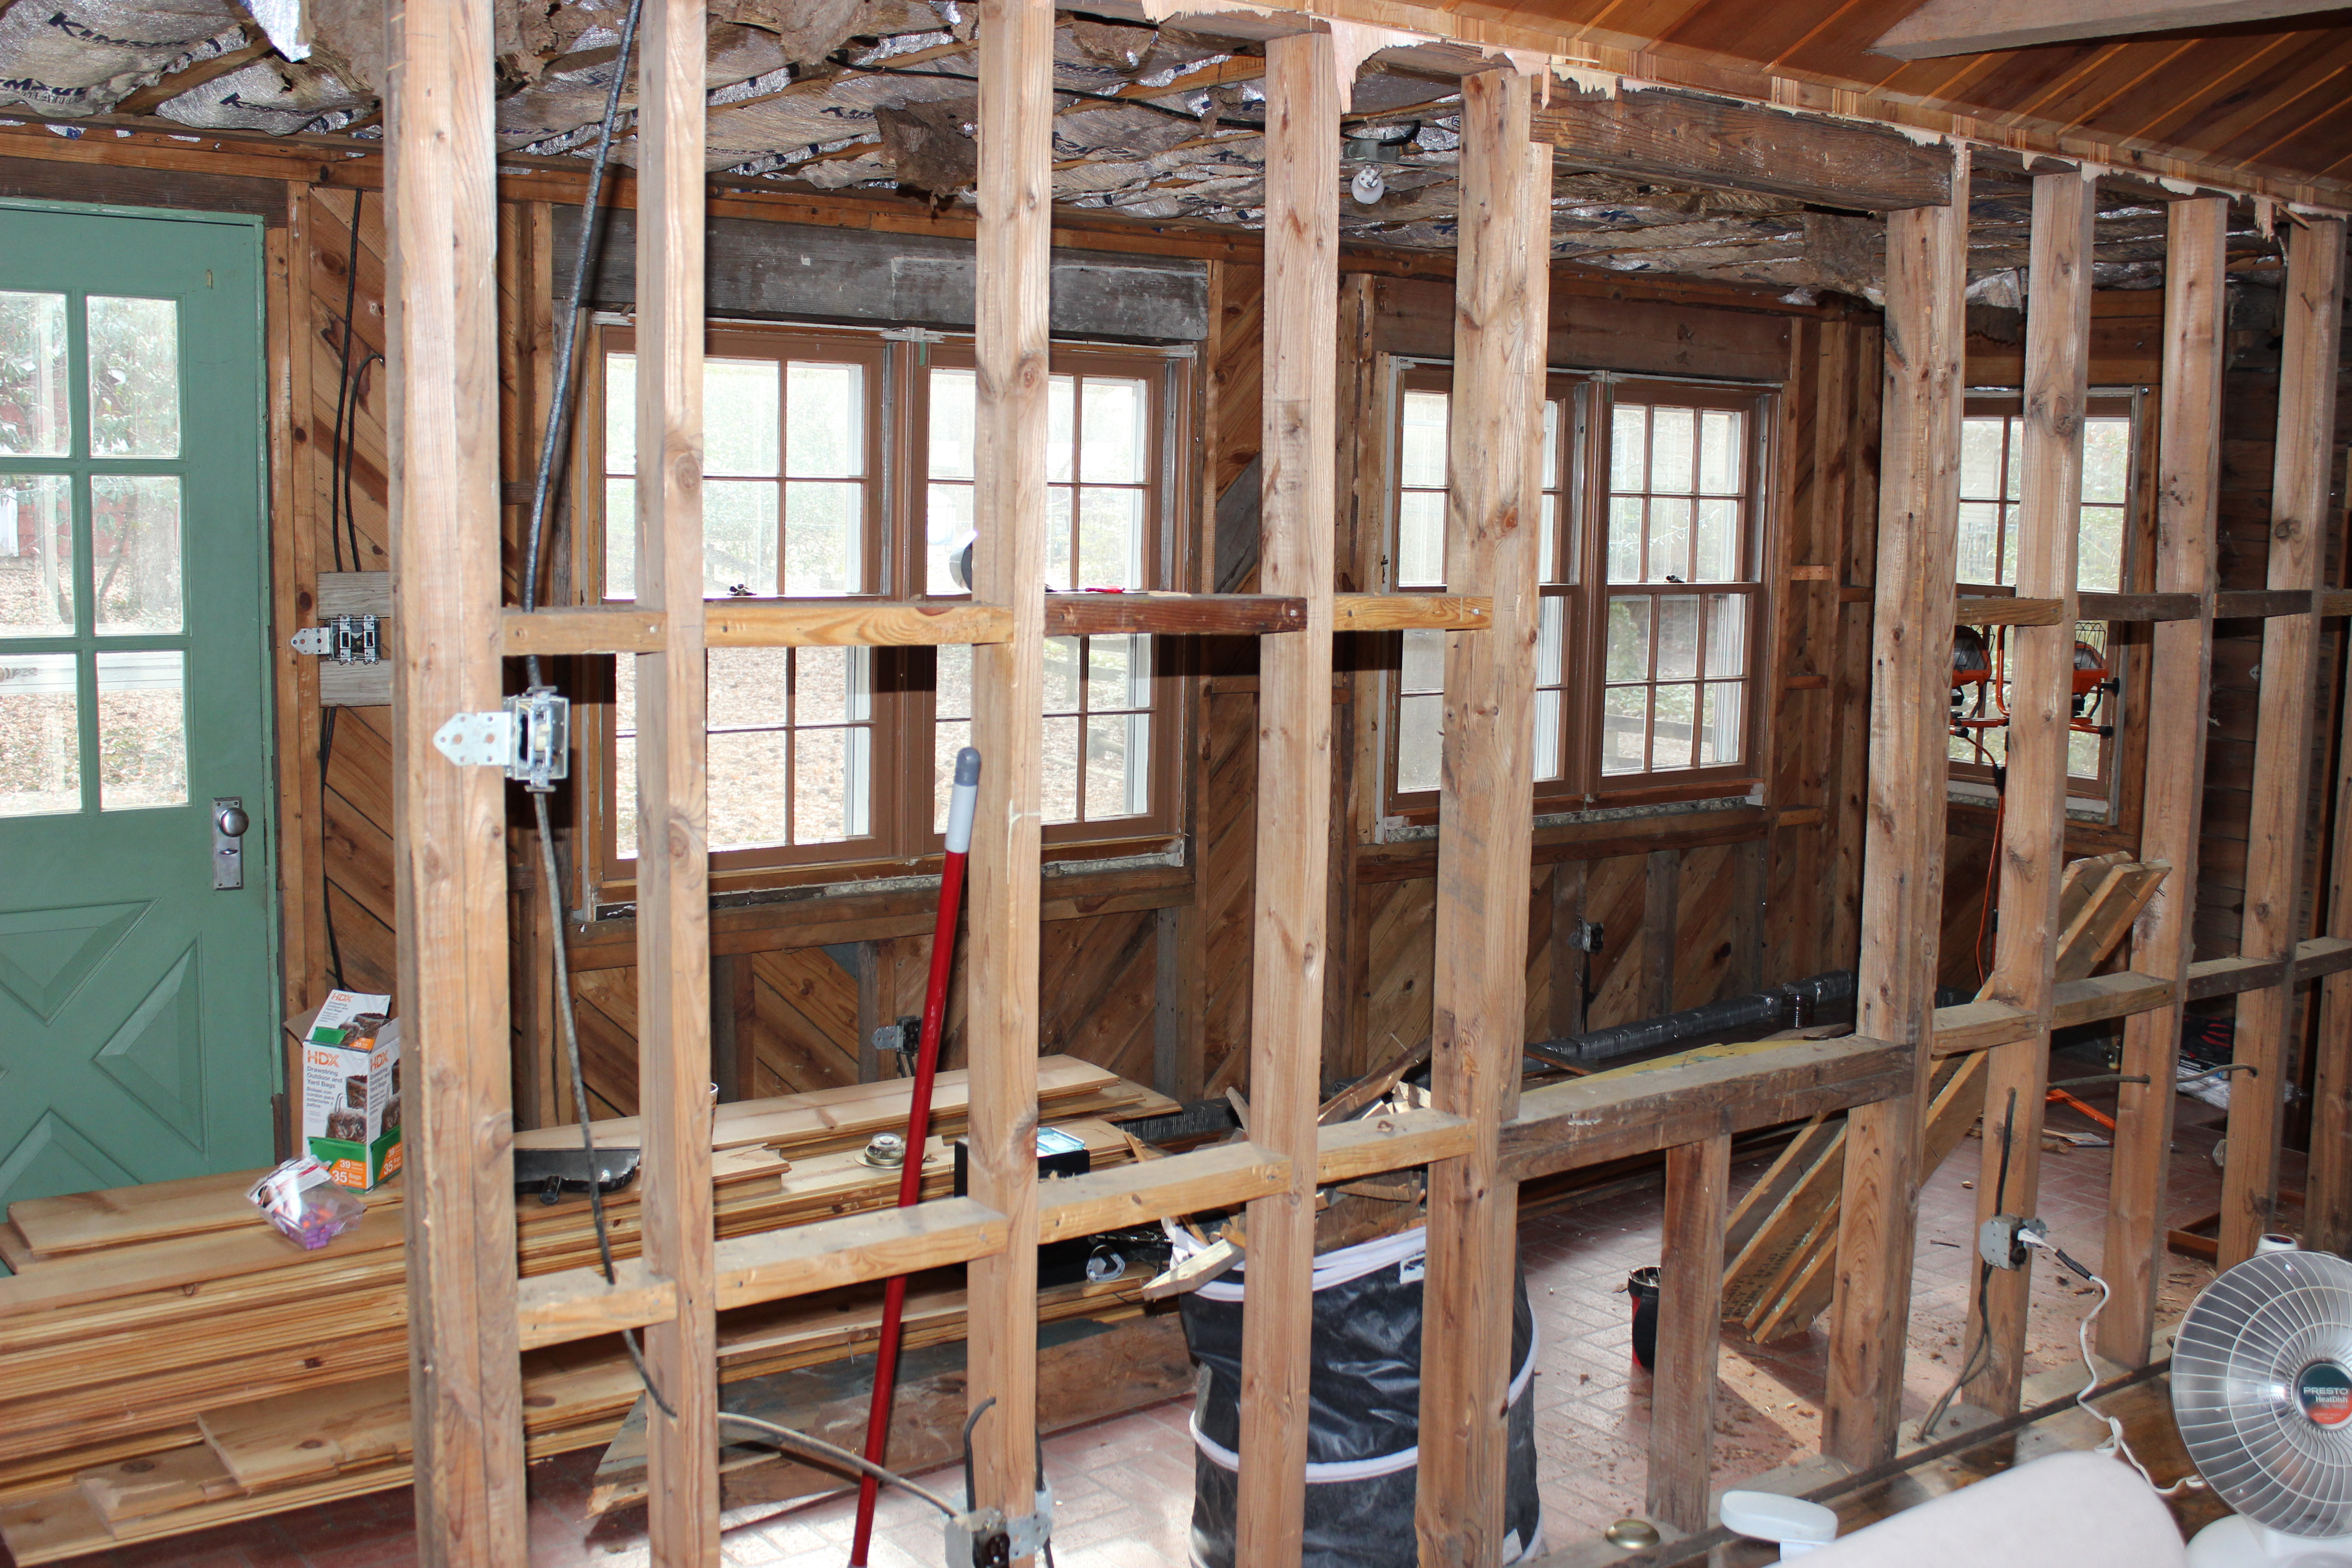
Now we are hard at work finishing up our sunroom floor, windows, and trim so that dust is no longer flying once the couches get here. 🙂 Oh, and I seem to have started the downstairs bathroom, too. More on that soon!

Get on the floor!

Faux Brick Tile Floors

So…we started this project in July prior to our trip to Turkey. We knew from our pre-purchase asbestos testing that the glue holding those sexy beast faux brick tiles down contained asbestos. Since it was only 2% of the make-up of the glue, we figured we’d chance it and just rip the tiles up and cross our fingers we don’t die in 50 years of diseases caused by asbestos. When we took up the first tile, there was scary looking powder under it and we decided just to encapsulate it and cover it with some pretty wood flooring. 🙂 Safety first.

The first step in doing so was to lay down a layer of luan, just like we did in our kitchen floor update.

IMG_2059

After that, we put a layer of rubber matting to reduce any possibility of having creaks in the future.

IMG_3663

We then realized we would have to take our door down in order to install the wood flooring. I took that opportunity to wash the door and paint it.

IMG_3666

IMG_3688

While I was painting the door, Josh got to work on the wood floors. We rented a floor nailer from the Home Depot Rental Counter and it was amazing. So amazing Josh struck a pose for me.

IMG_3686

It was a pretty quick job-we finished this portion of this project in just two days.

IMG_3699

IMG_3701

Then came the week before our vacation to Turkey and we were just not feeling up to home improvement. We had too much stuff to do, so basically all productivity stopped there. Then, when we got home from Turkey, we were playing catch up, I started a new job, and Josh’s work schedule got busier than ever. So…weeks went by and it stayed like this.

But here..enjoy some pictures of Istanbul, ya’ll! It was amazing. You need to add it to your bucket list.

This slideshow requires JavaScript.

Anywho..so, when we finally got back to work, we rented two floor sanders and knocked it out in a day. The borders of the room took a few days more because we had to do it by hand. We tried many, many different methods to take off the stain around the border of the room, but found hand scraping with a paint scraper then following up with sanding with a coarse sandpaper on our Dremel Multi-Max Tool worked best. Our hand sanders didn’t get through the stain as well as the Multi-Max. That thing is my favorite tool ever.

IMG_3706

We had previously decided we wanted to do a pretty dark floor and we fell in love with Minwax English Chestnut, but then once we got everything sanded, we started second guessing ourselves and thinking maybe a medium or light floor would be best. We debated for a while then agreed on Colonial Maple, stained a test area, then decided we hated it in this room. We ended up going with Minwax in English Chestnut. This is when I got myself back in to blogging mode and actually took pictures. 🙂

IMG_3743

IMG_3745

IMG_3757

IMG_3760

IMG_3761

IMG_3762

IMG_3763

YAY! Doesn’t it look awesome?? We haven’t stained the floors in the sunroom yet, but we decided we are going to do the Polyurethane sealer in this room first, then tackle the sunroom after that. 🙂 We’ll keep you posted!

Drywall

We have walls, people!!!

Josh started putting up the vapor barrier on Sunday (the clear stuff with the red tape holding in the insulation that we installed last weekend-no post on that because…it was boring, really.) Then, on Monday, the drywall and other supplies were delivered so that the crew could get started early Tuesday morning.

IMG_1488

IMG_1489

I went to work on Tuesday morning and when I came home, all of the drywall was hung. I sat on the floor for about an hour just soaking it all in because it makes a HUGE difference. For anyone out there is debating on DIYing drywall or hiring it out, I have three words of advice for you: HIRE IT OUT.

IMG_1509

IMG_1515

IMG_1511

On Wednesday, they came in and mudded all of the seams and the places where they screwed the boards into the studs and then on Friday, they did all of the sanding!

IMG_1547

IMG_1549

IMG_1551

IMG_1555

IMG_1561

They were FAST, ya’ll. And I think I may be addicted to hiring out jobs now, because I would leave for work and when I got home things would magically be done. It was amazing. It was definitely money well spent because if we were doing it, we’d probably still be hanging the first piece and then ripping it back off because it wasn’t good enough.

Now WE have to get back to work and get the whitewashed planked wood ceiling planned and installed. And prime and paint the walls (and decide on a color). And find light fixtures and fans we like. Etc, etc, etc. Unfortunately, our money tree has lost a lot of leaves lately, so back to DIY it is!

Insulation

YES. You guys, it is embarrassing how excited I am about the insulation in our living room/sunroom areas. We hired American Insulation Services to install spray foam insulation in our living room and HOLY MOLY, I am so excited. Probably even more excited than I was when Josh installed our new mailbox.

So..the night before the insulation folks came, we finished running the electrical stuff in the exterior walls, moved the couch and bookcase, got the tools and junk out of there,  and vacuummed (I didn’t want them to think we are slobs!).

IMG_1422

IMG_1427

IMG_1428


Our awesome installer Tim came over Wednesday morning and finished by about 3pm. It took about 40 minutes for the prep work to be completed (wrapping the exposed beams, covering up the floor, windows, and baseboard heaters with plastic, and warming up the truck for the sprayer to work). The insulation has a slight nail polish remover smell, but nothing major and after 24 hours, it is cured and the smell goes away.

IMG_1432

IMG_1438

We decided the best route for us to go in the ceilings to avoid having to adjust ceiling heights to achieve recommended R-value was to go with closed cell spray foam insulation-which can only be installed by a qualified contractor. They suggested doing a layer of the spray foam around all of the exterior walls as well to create an air seal, since there are lots and lots of crevices letting too much air in from the outside. We totally agreed with him after seeing all sorts of stuff in the walls that we couldn’t unsee when we were gutting the room, like dormant mud dauber nests which terrified me because they are creepy looking and Josh laughed at me. I basically said to do whatever we have to do to guarantee that nothing creepy would be making a nest in my walls.

IMG_1443

IMG_1453

IMG_1456

Spray Foam Insulation

Overall, we were very happy with the service we received and Tim was awesome. He stayed for a bit to talk to Josh about our future plans on the house and then when Josh showed him the upstairs areas (that have NO insulation)..he said “So…I’ll see you again soon-huh?” Yes, Tim..you will!

We still have to install some batts of fiberglass insulation in the walls, but we are officially one step closer to a more efficient house AND hopefully next Winter we won’t freeze! 🙂


Widen your View

So…remember these windows-used-as-shelves in the living room?

654143724282d89117bba1e03f380518

Well, they got a little wider. Like my eyes when I see Krispy Kreme doughnuts..

The Reception Line 2014 212

We originally debated if we should add another doorway on the fireplace side of the room as a “shortcut” to the mudroom. We ended up deciding against it for logistical reasons-mostly because we are too lazy to move/cap off the heater in that space.

We also didn’t want to completely open up the room to the sunroom because the floors are different heights, it would make the fireplace off-center, the beams in the living room don’t continue into the sunroom, and the roofline is completely different.

However, we did also widen the doorway to make it easier to walk through into the sunroom from the kitchen and to make everything as close to symmetrical as possible.

We absolutely love it and are so thankful for the extra light that streams in to the room! One step closer to the lighter and brighter living room we are looking for.

The Reception Line 2014 195

For those interested in how we did it…we used this tutorial from This Old House, which has basically become our bible for any project we are doing at the time. We installed a much larger header for each window to evenly distribute the load, so there are no worries as far as safety goes.

The Reception Line 2014 200   The Reception Line 2014 211 The Reception Line 2014 212

Right now the windows seem crazy wide, but I think it may also be because the rest of the walls aren’t covered in drywall. Now we are slowing finishing up the cleaning process in here before the insulation people come!

This takes GUTS!

Last time we checked in, we had taken down all of the wood paneling in the sunroom and two walls of the living room…

IMG_0587

However, we still had two more walls and the ceiling to tackle..plus the fact that we had a drain pipe malfunction in the guest bedroom and lots of panic. The demo in this room was a welcome distraction from the drama of the water damage/insurance/blah blah blah. It certainly gave us a chance to take out our frustrations.

First up was the removal of all of the trim and baseboard heater covers. We did all of the prep work on Friday, then got started early Saturday morning. We used a saw to cut through the tops and bottoms of the boards to make it easier to pry them loose and avoid hitting the baseboard heaters and cause any damage. We also got on a roll with using a Sawzall borrowed from Josh’s dad to cut the nails from the side to remove the boards with less breakage.

IMG_0907 IMG_0922 IMG_0927

^ WHY, YES..that is an interior wall WITH insulation and an exterior wall without insulation. 🙂

IMG_0938

IMG_0943

So, this little area has a funny story…We ripped out the top part of the tin foil insulation (not a technical term!), then revealed our….attic. We totally didn’t put two and two together for a second since we enter our attic from our mudroom area which is down two mini flights of stairs, I think we thought we have uncovered a huge time capsule or something…nope, just our Christmas Tree. Haha!

IMG_0961

^ All walls done-starting on the ceiling….

IMG_0952

IMG_0988 IMG_0989

IMG_0979

After getting cleaned up (we could finally take showers since the plumber came on Saturday morning and got our shower up and running!), we went out for sushi and came back to our house for a rousing game of Cards Against Humanity.

We woke up on Sunday morning ready to go …. not. We were tired. I was cranky. But we kept on truckin’. I was pretty much at my breaking point (tears were almost coming out of my eyeballs) when Josh found this:

IMG_1104 IMG_1105 IMG_1106

It is a corner of a newspaper dated November 16, 1954 and it totally put me in a better mood because I JUST KNEW there was a note/newspaper/etc somewhere in this mystery of a house which, again, was supposedly built in 1957 and obviously this section was completed before that. I love being right so much that my tears disappeared and were replaced with determination.

We think that after our new insulation is put in and before the planked ceiling goes in, we will put one page of this old newspaper back into the wall, along with a note from us and a now newspaper so that it might brighten the mood of a future owner of our house when they are renovating the house 60 years from now. Cool thought. 🙂

Anywho, back to work….

IMG_0996

IMG_0994

..and by about 4:30 that night, the room looked like this:

IMG_1001IMG_1008IMG_1007IMG_0969

Weee!!!

This past weekend, we took on the wonderful job of insulation. I won’t even go in to how that went..it was just pretty terrible.

IMG_1040 IMG_1043 IMG_1044 IMG_1045

After removal…

IMG_1047 IMG_1062 IMG_1063 IMG_1073

THE LIVING ROOM IS GUTTED CELEBRATORY PICTURE!! 🙂 WEEEEE!!

Tear down that wall!

After starting off with a bang in the sunroom and not finding anything terrifying that would stop us from going forward with the project, off we went on the living room! We didn’t get a before before picture, but…imagine this entire wall was covered in paneling. HAHA.

IMG_0480

We started getting little glimpses of weird boards behind the paneling..no surprise there since we found them in the sunroom!

IMG_0486

We knew the previous owner worked at NASA, so I guess at some point he brought a bunch of shipping containers home and used them to nail in the wood paneling! Super cool. We found a few other weird boards (probably from the shed at one point?).

IMG_0488 IMG_0489 IMG_0485

After that wall’s paneling was removed, we turned our attention to the sunroom wall.

IMG_0499

IMG_0501  IMG_0556 IMG_0558 IMG_0568 IMG_0571 IMG_0572 IMG_0580 IMG_0587 IMG_0591

Down to the studs! We are waiting for the weather to warm up a bit (hopefully this week?) so that we can start removing the boards on the exterior walls and ceiling, then we’ll run new electrical and be on our way!!

Moving on.

Some of you may have seen my instagram shot of the interesting wall boards hidden behind our lovely wood paneling in the sunroom.

IMG_20140309_114749

I guess I neglected to mention on here that we are about to embark on another huge project: our “sunroom” and our living room.

Here is the living room before we moved in (listing photo-not our furniture):

654143724282d89117bba1e03f380518 52cd16572bfe73184ecc419142fd1f08

And then the photo we took during the inspection (yes, that is dust on the floor):

livingroom

Since moving in, we have taken out all of the shelving on the walls due to mildew issues. We think the books held lots and lots of moisture when the house wasn’t occupied. Yuck. It was gross, ya’ll.

Through the window ‘cut outs’ behind the couch is the “sunroom.” I put it into quotations like that because…well, our house doesn’t get much direct sunlight. Even though this room may have the most windows, it is only sunny for a few hours every day. I guess maybe in the future I will call it whatever we USE it for..

621e23f9266403b0a3129b2466e603bd 608f8005275b1f60fdbd2f949d096854

To be honest, we have no idea how we will use this room. It is basically a glorified hallway from the living room to our laundry room/mudroom/garage. The wall with the window cut outs is a load bearing wall and the floors and ceilings are different heights, otherwise, we would just rip out the wall and make the living room huge. In this room, we are going to:
-Take out and replace all trim (including window sills and window trim).

-Remove all wood paneling and replace with drywall.

-Remove ceiling tiles and replace with drywall.

-Remove and replace flooring (it is currently faux brick tiles).

-Move / Install new wiring to move light switches and install more lighting. This room currently only has one small light fixture-we’d like to have at least two or maybe three to provide enough light.

-Insulate all windows, walls, and ceiling.

-Widen the door and window cut outs from living room (if possible).

-Prime and paint all walls, ceiling, door, trim, windows.

-Prime and paint baseboard heater covers.

-Figure out furniture/use of the room, then decorate.

As far as the living room goes, we have one major inspiration photo that makes both of us really super excited:

Granted, that house has way more windows and higher ceilings and a different layout..but..holy yes, I want our room to have the FEELING of that room.

So, how will we get there, you ask? We will:
-Remove all paneling on walls and ceiling.
-Move / install new electrical wiring to center our light fixtures/fans between beams (they are currently NOT centered and it drives us crazy!) and possibly move light switches.
-Insulate all walls and ceilings.
-Drywall all walls and ceiling (We will probably have to have a layer of drywall to have a “fire barrier” for our spray in foam insulation in the ceiling..more on that later).
-Whitewash/Distress Panels for ceiling and install.
-Replace, prime and paint trim around windows.
-Prime and paint walls, trim, window panes and sills.
-Replace all outlet and light switch covers.
-Widen door and window cut outs into sunroom.
-Install extra flooring (which the previous owners left for us in the attic!) where the door was widened.
-Sand and refinish flooring to match newly installed floor where door was widened.
-Paint baseboard heater covers white.
-Buy window treatments and you know…decorate. Haha!

We are currently on the removing wood paneling step, so…we have a ways to go! Wish us luck!